
Granting Access to Specific SharePoints with PnP-PowerShell

Managing access permissions effectively is essential for data security and compliance. When working with SharePoint Online in your development projects, there are situations where you need to grant application access to specific sites without giving broad permissions across your entire tenant. This targeted approach minimizes potential security risks by adhering to the principle of least privilege.
Why Targeted Access is Important
Providing access only to necessary sites enhances security and compliance by:
- Reducing Risk Exposure: Limiting access to essential sites prevents unauthorized access to sensitive data.
- Improving Compliance: Helps meet regulatory requirements by ensuring that only relevant personnel or applications can access specific data.
- Simplifying Management: Makes it easier to audit and manage permissions.
Creating an Application Registration in Entra ID
Before you can use a PowerShell script to manage site permissions, you need to create an application registration in Entra ID (formerly Azure AD). Here’s how you can do it:
- Sign in to the Microsoft Entra admin center.
- Navigate to Applications.
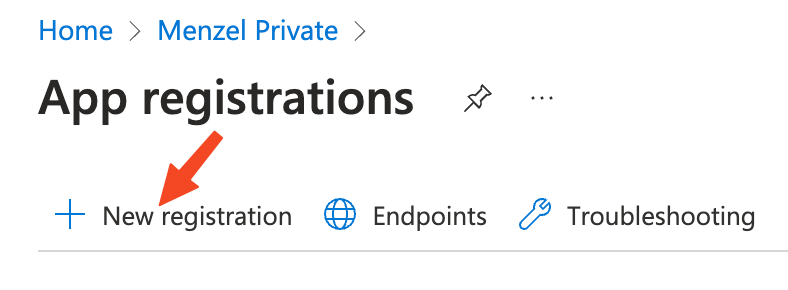
- Select App registrations and then New registration.
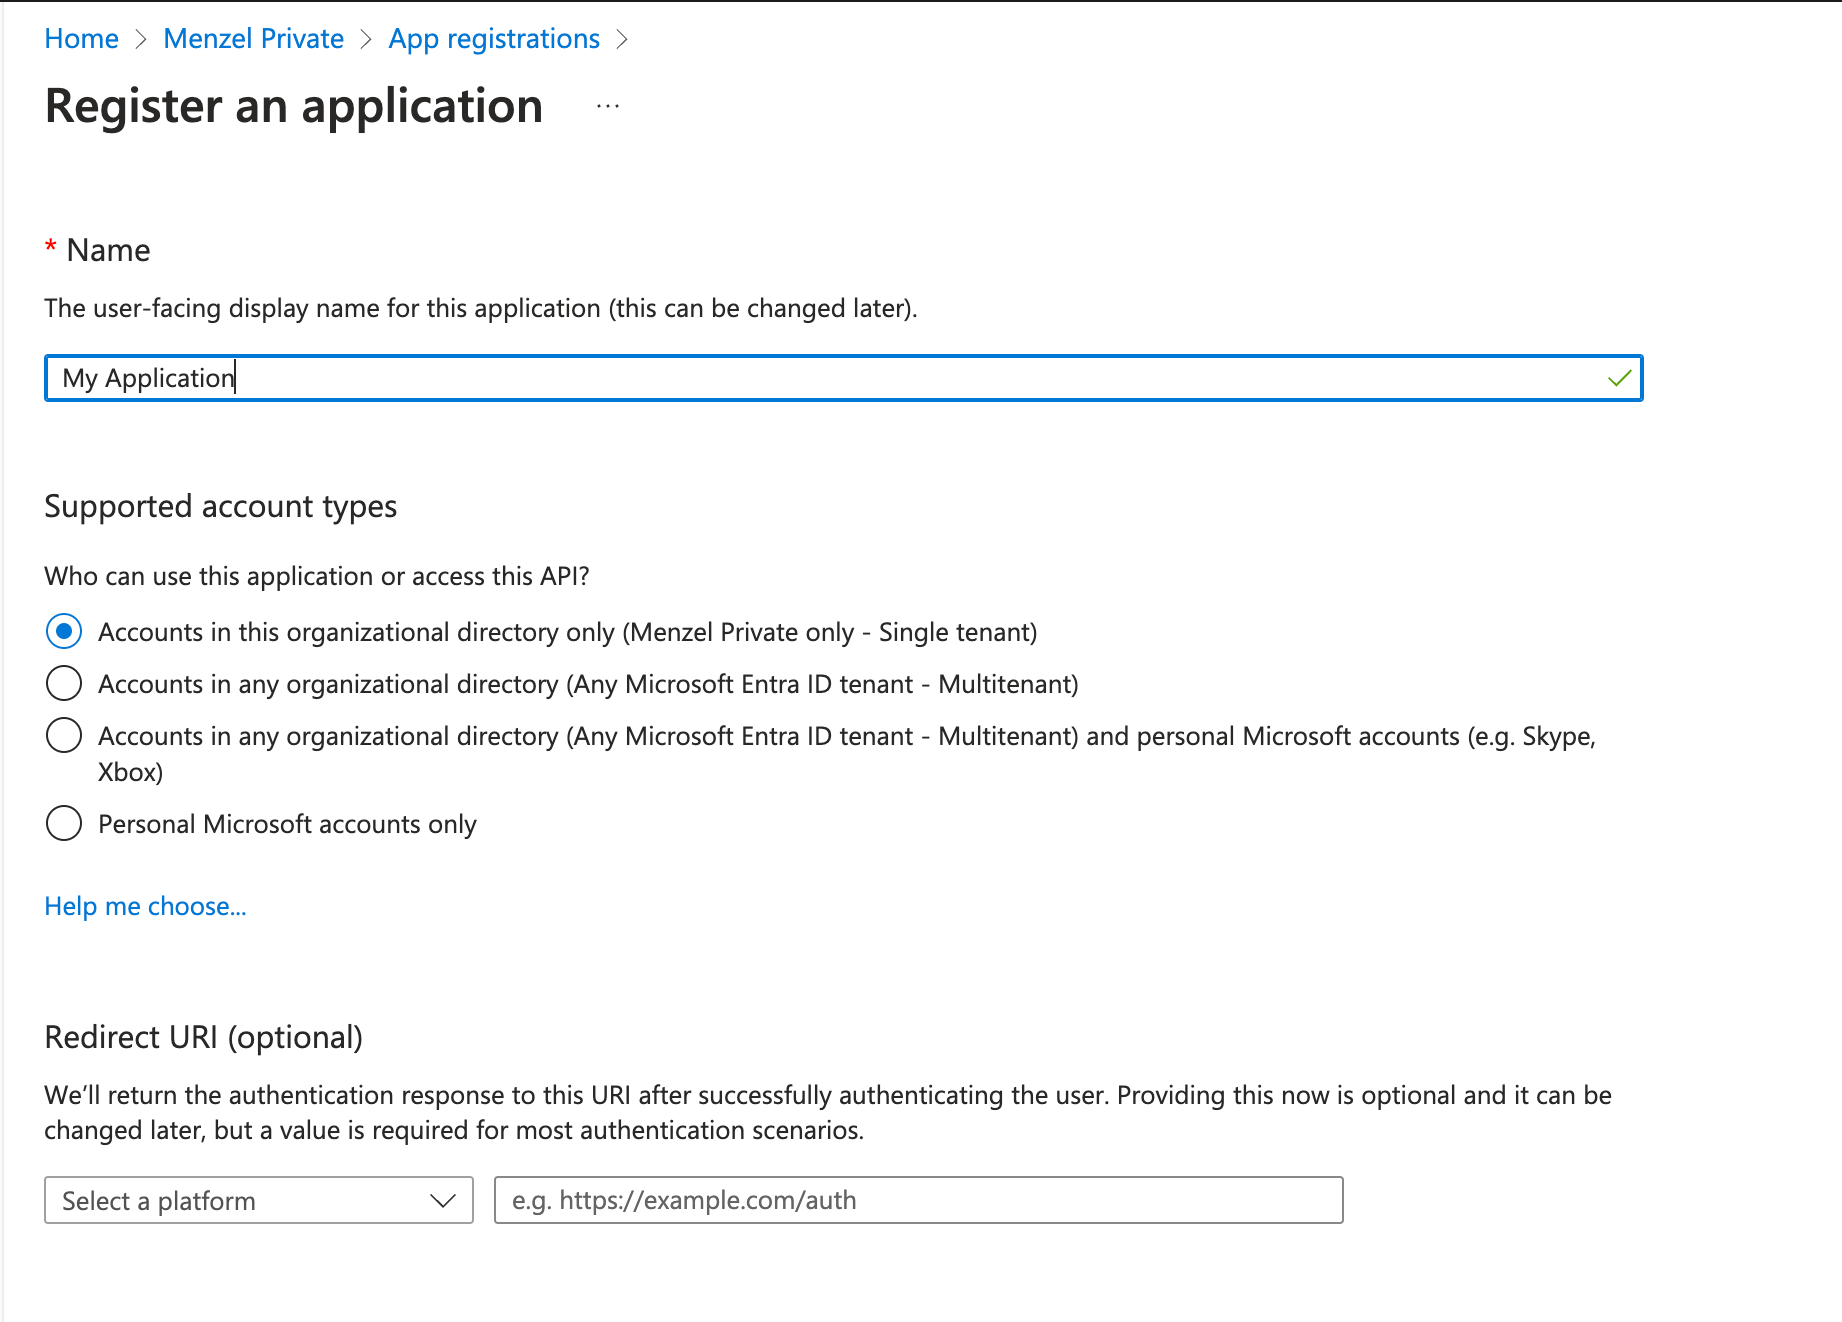
- Enter a name for your application.
- Select the supported account types (usually Accounts in this organizational directory only).
- Redirect URI can be left blank or set if needed.
- Click Register.
- Once registered, note the Application (client) ID.
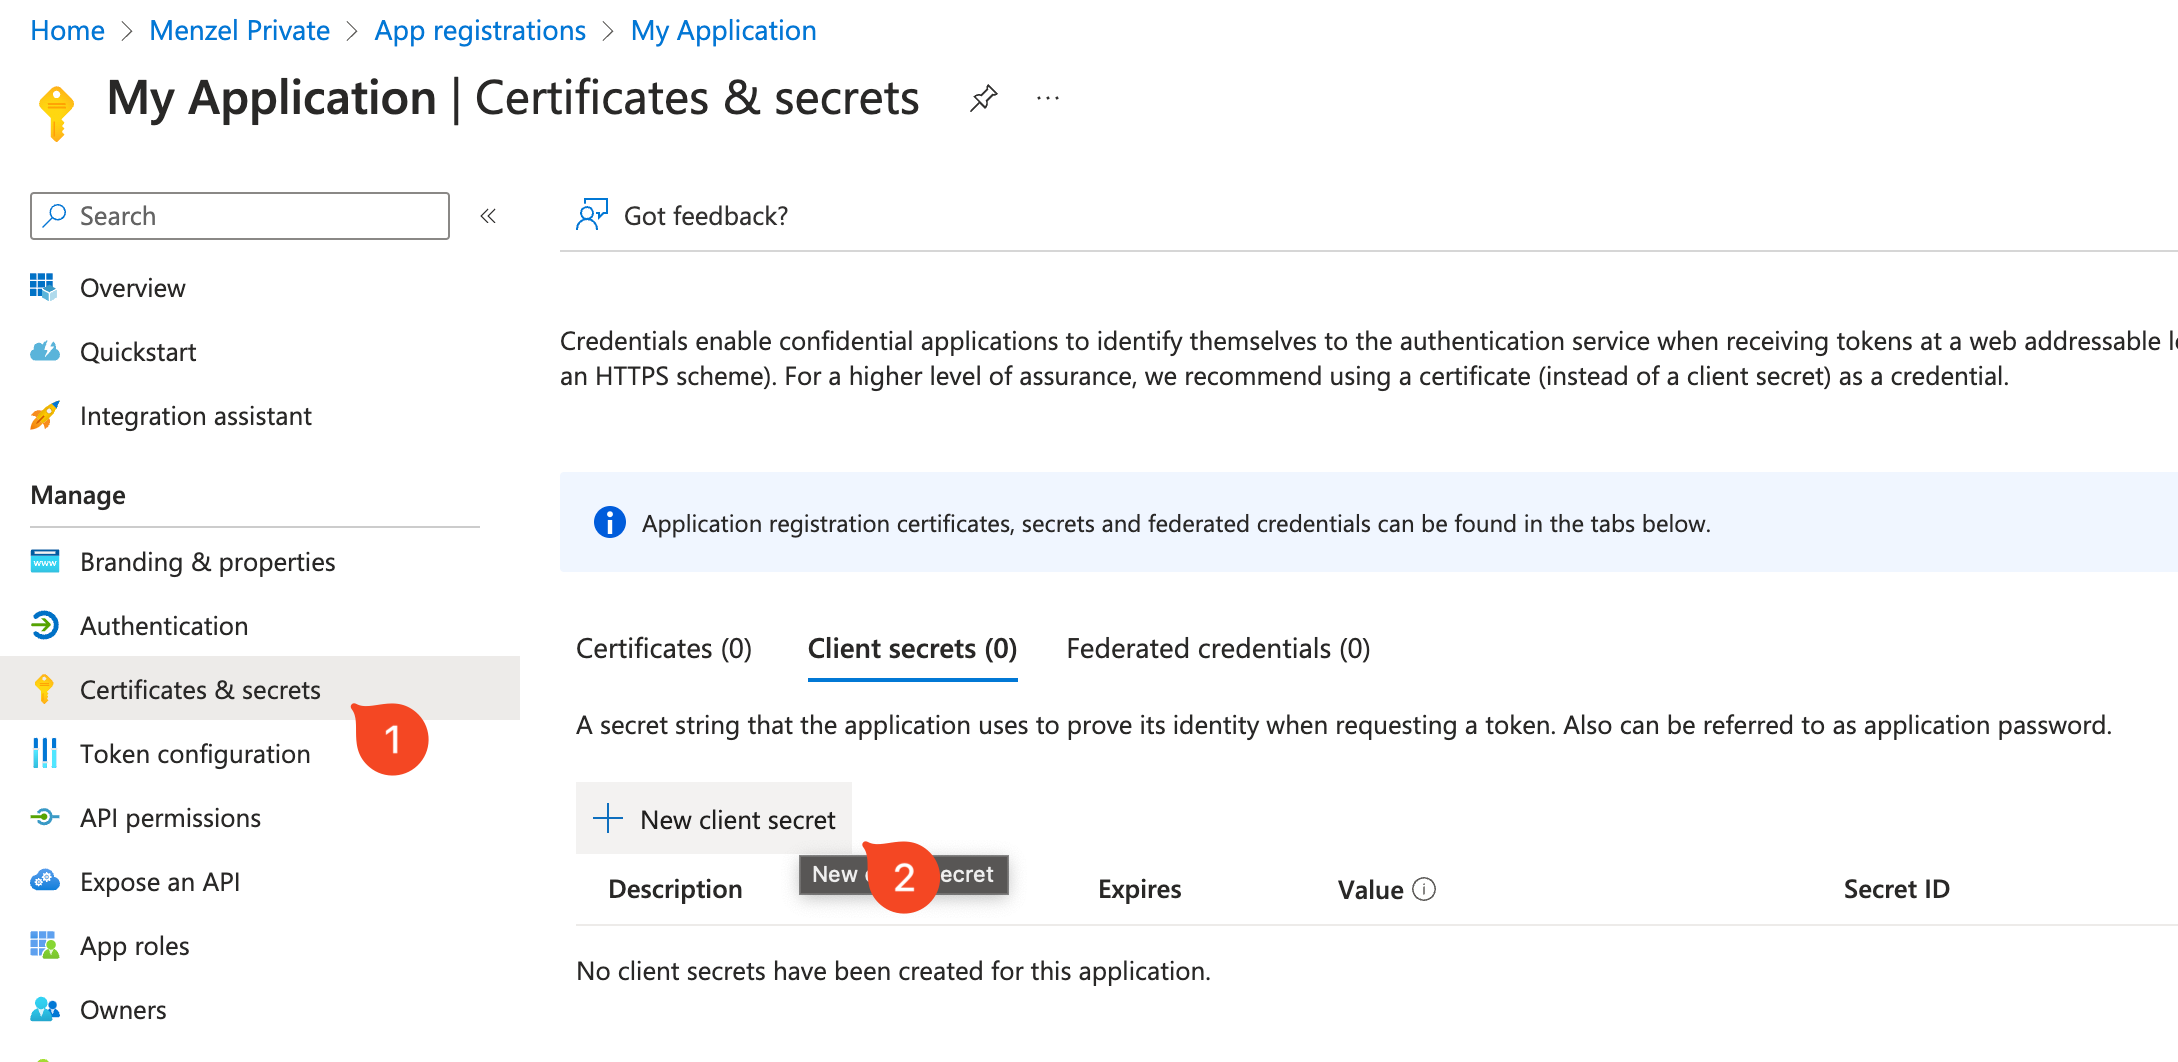
- Under Certificates & secrets, create a new client secret or upload a certificate. Note the secret value or thumbprint.
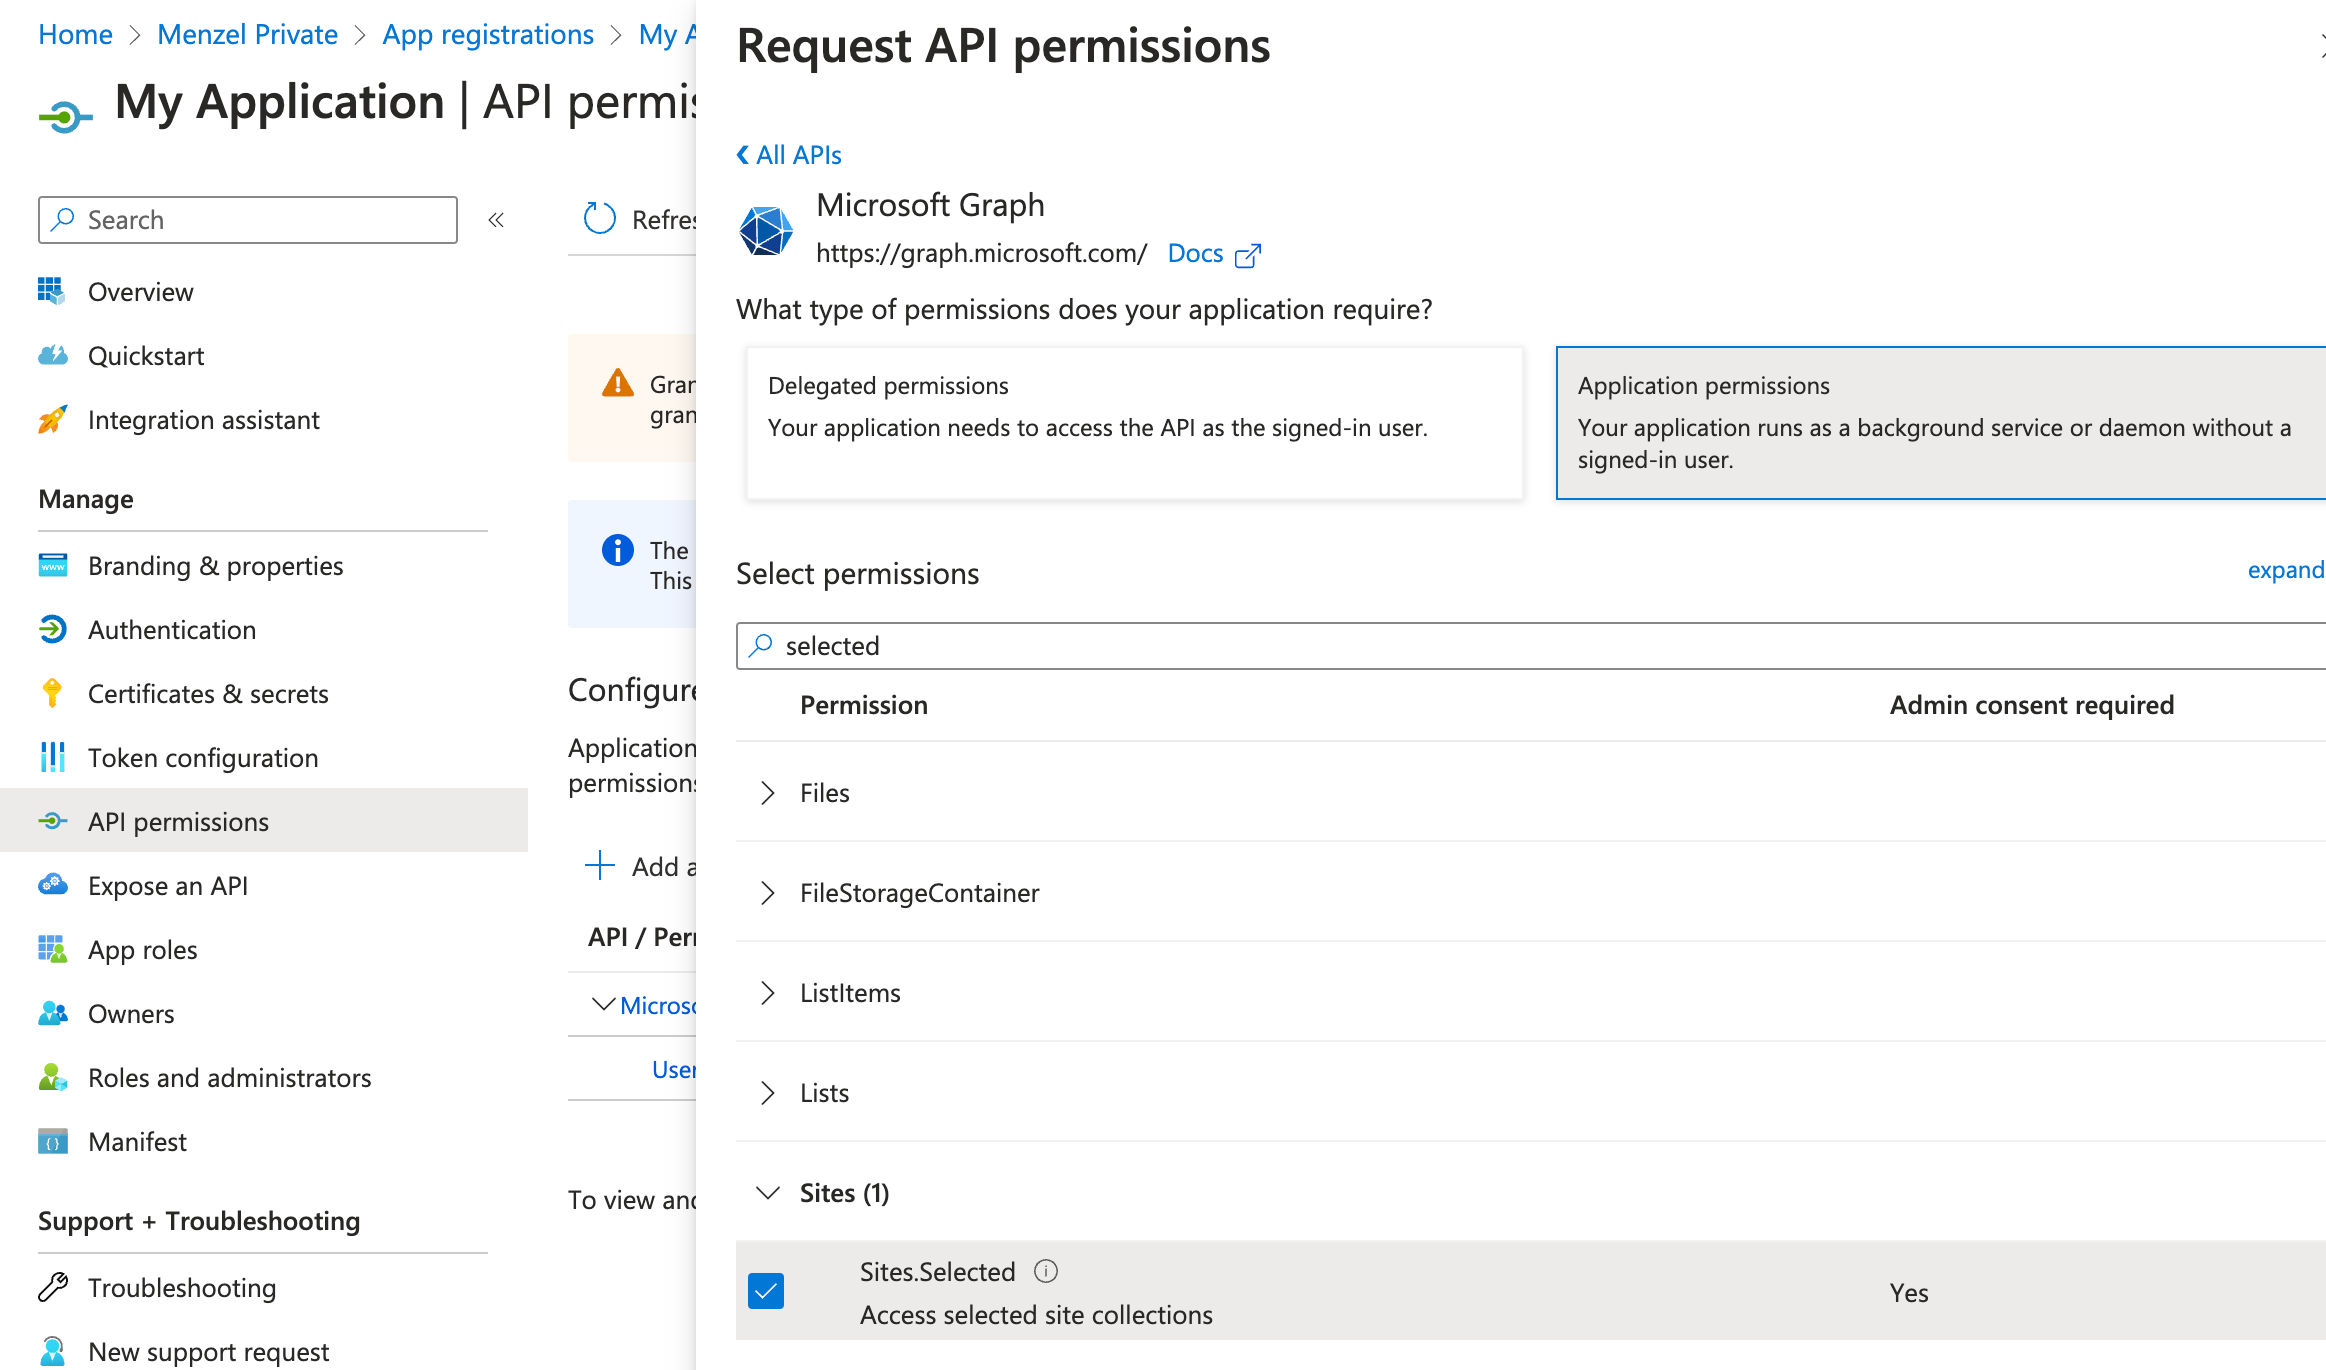
- Under API permissions, add permissions required for SharePoint access (e.g., Sites.Selected).
The PowerShell Script Explained
Now, let’s break down the provided PowerShell script and explain its components in simple terms.
Setting Up Variables
|
|
- $TenantName: Replace
'your-tenant-name'with the actual name of your Microsoft 365 tenant. - $ClientId and $Thumbprint: Replace
'AppID'and'your-Thumbprint'with the appropriate path to retrieve your App ID and Thumbprint.
Connecting to SharePoint
|
|
- $tenant: Replace
'your-tenant-name.onmicrosoft.com'with your tenant’s domain. - $Site: Replace
'https://your-tenant-name.sharepoint.com/sites/your-site-name'with the URL of your SharePoint site. - Connect-PnPOnline: This command connects to the specified SharePoint site using your credentials.
Managing Site Permissions
|
|
- Get-PnPAzureADAppSitePermission: Checks existing site permissions for the Azure AD app.
- Grant-PnPAzureADAppSitePermission: Grants the specified permissions to the Azure AD app. Replace
'your-app-id'and'your-display-name'with your app’s ID and display name. - Revoke-PnPAzureADAppSitePermission: Revokes permissions from the Azure AD app. Replace
'your-permission-id'with the ID of the permission you want to revoke.
The Complete Script
Here’s the cleaned-up version of the script, without any specific data:
|
|
Using scripts like this helps ensure that only necessary permissions are granted, enhancing security and compliance in your SharePoint environment. This practice helps maintain a secure and compliant environment within your organization. Did you already use this approach to grant access to specific SharePoint sites? Share your experience in the comments below!
Published on:
Learn moreWe can help you with Granting Access to Specific SharePoints with PnP-PowerShell
If you want help implementing, troubleshooting, or improving this product, contact us and we’ll point you in the right direction.

Related posts
Creating Copilot Studio Agents Without an M365 Copilot Premium License
A common assumption when getting started with Copilot Studio is that you need a full Microsoft 365 Copilot Premium license. That assumption is...
Power Automate: Get events (V4) shared mailbox fix
When your flow reads a shared mailbox calendar using the Office 365 Outlook → Get events (V4) connector, it can fail in a way that looks like...
Using Managed Identity with Azure Automation & PnP.PowerShell
How to Set Up a Managed Identity for Azure Automation Runbooks and Use It in PowerShell Scripts with PnP.PowerShell This guide walks you throu...
UPDATED - Set Up Pay-as-you-go M365 Chat & SharePoint Agents
Introduction to Pay-as-You-Go Agents in Microsoft 365 Microsoft has introduced a flexible way for organizations to leverage AI capabilities wi...
How to Use Flexible Sections in SharePoint Pages and News
If you’ve been using SharePoint Online to build pages or share news, you know how important it is to have a layout that works for your c...
What's New in SharePoint Pages
1. New Carousel Layout in the Hero Web Part The Hero Web Part has always been a fundamental element of SharePoint pages. The new Carousel Layo...
Power Platform Solutions Made Simple
Introduction to Power Platform Solutions Power Platform Solutions offer many benefits, especially when moving from standalone flows and apps t...
Use your Bluesky post for comments on your Hugo Blog
Since Bluesky is getting really popular by people I interact with, I decided to switch my blog comments to Bluesky posts. In this blog post, I...
Exploring SharePoint Online's SiteAssets Library
The SiteAssets library in SharePoint Online often seems like a mystery to a lot of users I talk to, but it’s important to understand it ...
Step-by-Step Guide to Copy Pages between SharePoint Online
Unfortunately you can’t copy pages in SharePoint through the UI. But sometimes you may need to copy pages and their associated SiteAsset...