
How to Use Flexible Sections in SharePoint Pages and News

If you’ve been using SharePoint Online to build pages or share news, you know how important it is to have a layout that works for your content. Microsoft’s new Flexible Sections feature makes that process easier and more creative. Whether you’re designing an intranet homepage or posting an update, this feature gives you way more control over how your page looks and feels.
Let’s break this down in a way that’s simple, practical, and easy to follow.
What Are Flexible Sections?
Flexible Sections are a new type of section you can add to your SharePoint pages or news posts. Unlike the old column-based layouts, these let you:
- Resize and move web parts freely: You’re no longer stuck with rigid columns.
- Drag and drop web parts anywhere: Place content exactly where you want it on a grid.
- Mix and match layouts: Combine Flexible Sections with traditional column-based ones for unique designs.
- Align content precisely: Position web parts ideally using alignment helpers and grid patterns.
This feature will roll out between late January and April 2025, so keep an eye out in your SharePoint environment.
Why This Feature Matters
In the past, SharePoint layouts could feel a bit limiting—you had to fit everything into predefined columns.
There has been free space left and right of those columns leaving users frustrated that they couldn’t use the whole canvas.
Flexible Sections change this by allowing you to customize your pages more freely. This means:
- Your pages can look more professional without needing advanced design skills.
- You can create layouts that work well on both desktop and mobile devices.
- It’s easier to highlight important content by resizing or repositioning web parts.
- You can overlap and layer web parts for more creative designs, similar to tools like Canva or Photoshop.
How to Use Flexible Sections in SharePoint
1. Add a Flexible Section
-
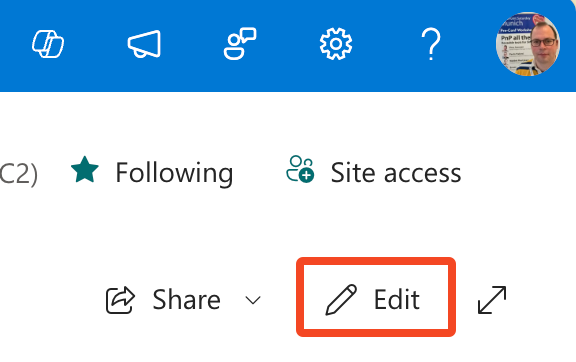
Open the page or news post you want to edit and click Edit at the top right.
-
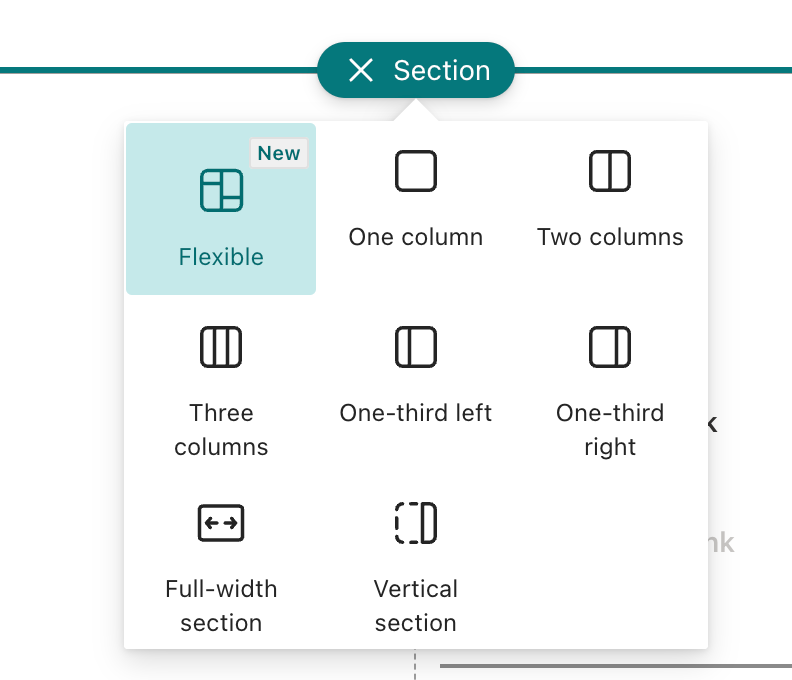
Hover over the area where you want to add a section and click the + button.
-
From the menu, select Flexible Section.
-
A blank grid will appear, ready for you to add content.
2. Add Web Parts
Web parts are the building blocks of your page (like text boxes, images, or links). To add them:
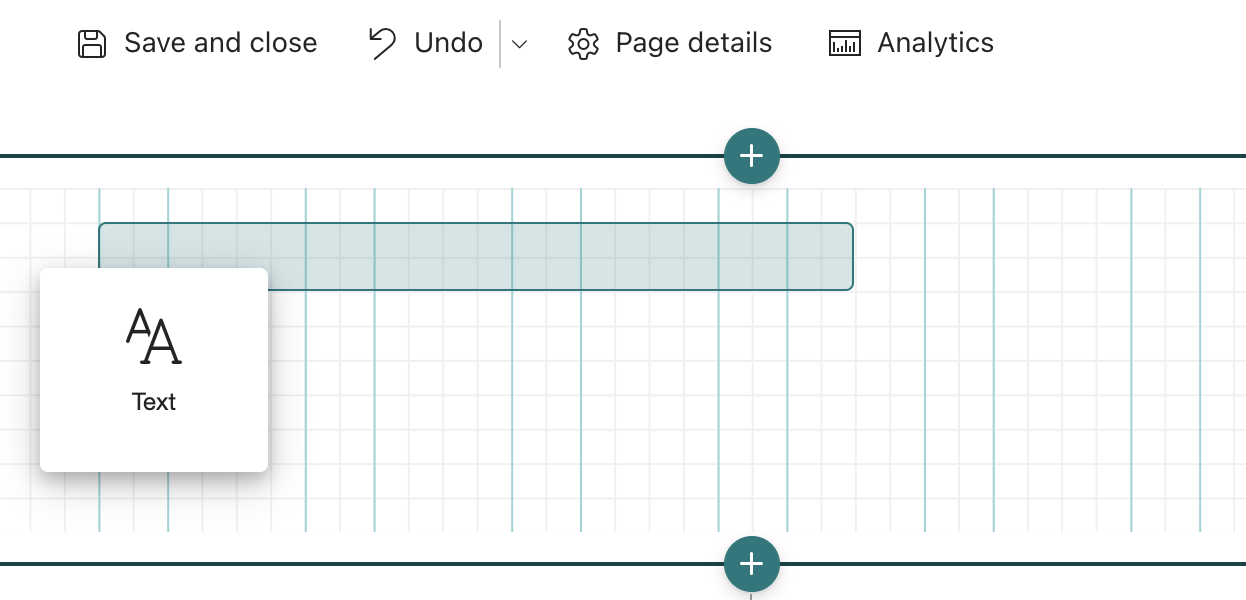
- Open the toolbox on the right side of the screen while editing your Flexible Section.
- Drag any web part (e.g., Text, Image, Quick Links) onto the grid.
- Use the alignment guides to position them perfectly.
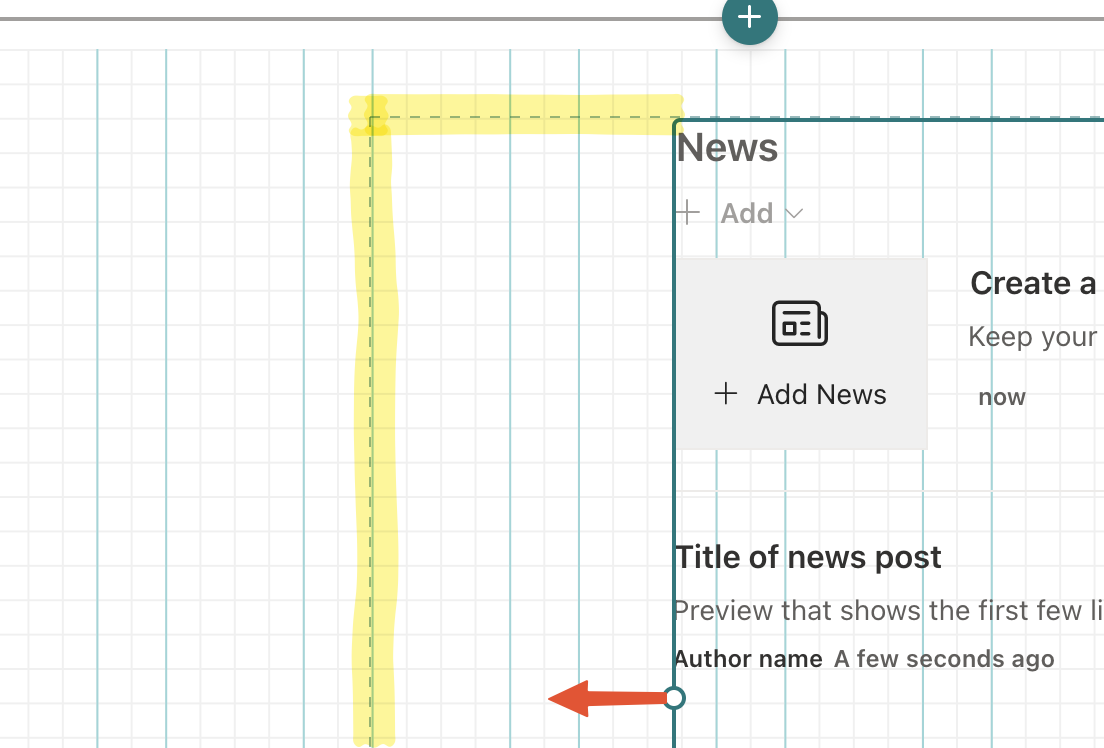
3. Resize Web Parts
Need that image to take up more space, or want a smaller text box? Here’s how:
- Click on the web part you want to resize.
- Drag the handles on its edges to adjust its size.
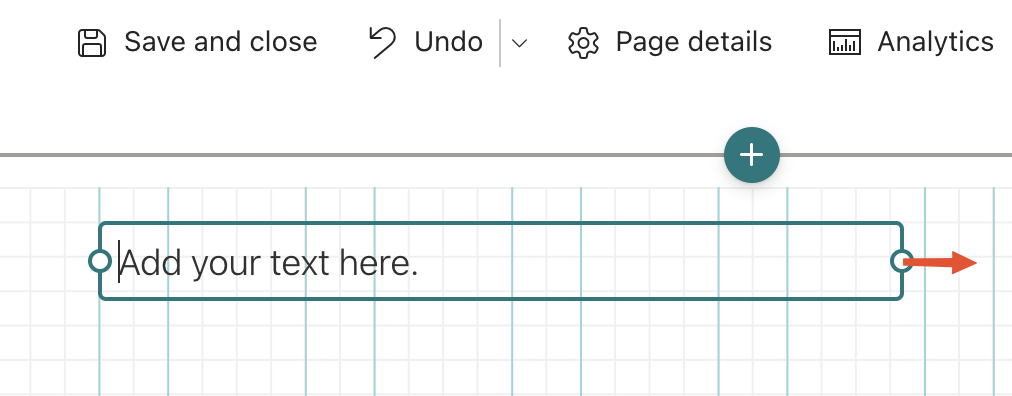
- Some web parts come with fixed size options like 1/3 width or 2/3 width, while others (like text or images) can be resized freely.
4. Rearrange Content
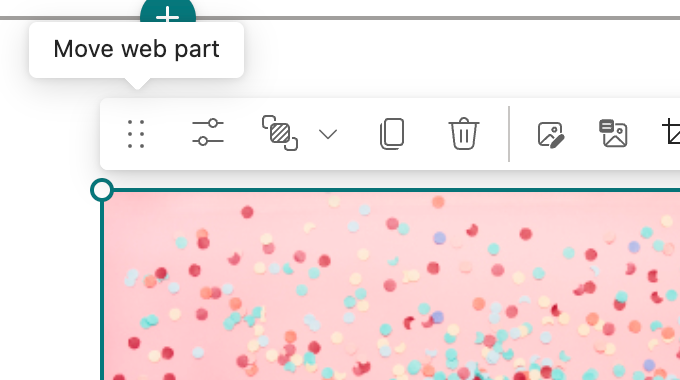
If something doesn’t look right, simply click and drag any web part to reposition it within your section.
5. Group Web Parts
To manage multiple elements more easily, you can group web parts:
- Hold the Ctrl key and click on the web parts you want to group.
- Group them into a single unit.
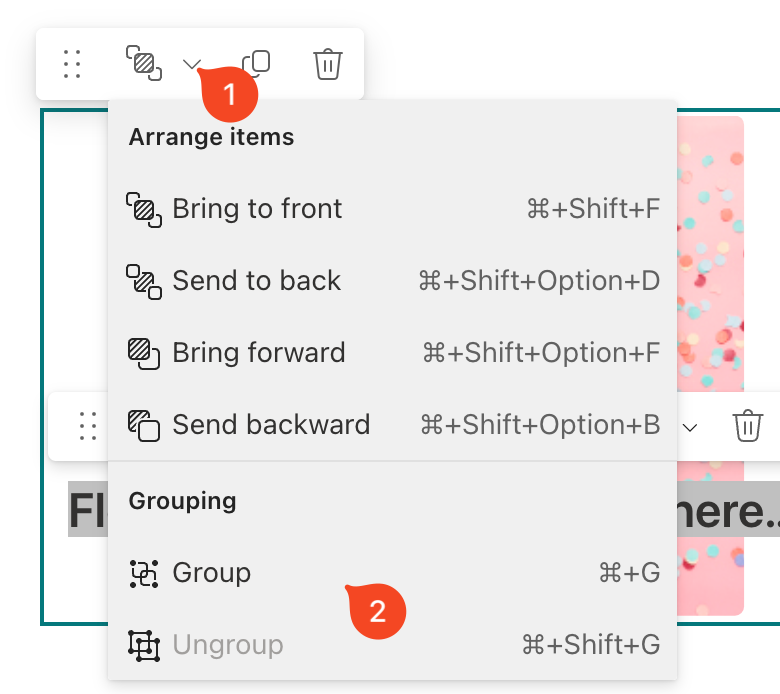
- You can then move the group as one or edit individual elements by clicking twice.
Tips for Making the Most of Flexible Sections
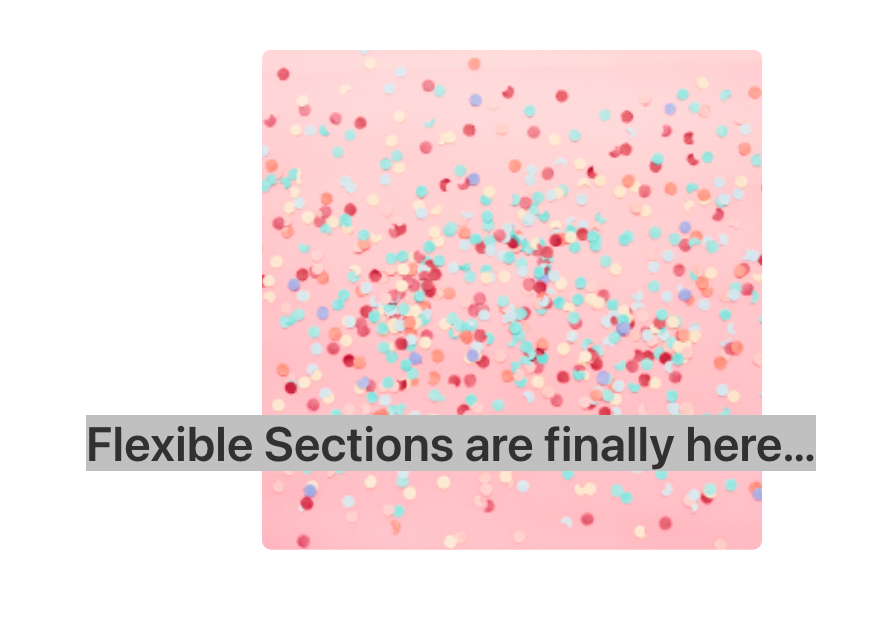
- Experiment with overlapping elements: Layer web parts on top of each other for creative designs (e.g., placing text over an image).
- Use section templates: Microsoft includes pre-designed templates which are giving you a great starting point for your next page or news article.
- Resize the section: Use the bottom handle to add or remove white space as needed.

- Preview on mobile devices: Always check how your page looks on smaller screens to ensure everything flows well.
Mobile-Friendly Features
Flexible Sections adapt smoothly to mobile devices:
- Automatic Reflow: Web parts adjust their layout based on their position in the grid.
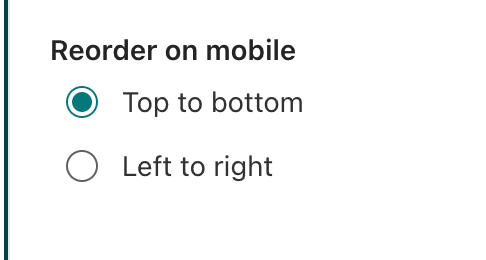
- Use the Reorder on Mobile setting to control how web parts stack on smaller screens.
Third-party and Custom Web Part Support
Flexible Sections work seamlessly with third-party web parts and custom ones built using the SharePoint Framework (SPFx). Future updates, like SPFx 1.21, will further enhance compatibility, giving developers more control over web part behavior in Flexible Sections.
Final Thoughts
Flexible Sections make SharePoint feel modern and intuitive again. Whether you’re creating a sleek homepage or sharing company updates, this tool lets you focus on what matters most—your content—without getting bogged down by layout limitations. Please be aware that Flexible Sections are still rolling out and may not be available in your tenant yet. This feature will roll out between early February and late March 2025, so keep an eye out in your SharePoint environment.
So, did you use Flexible Sections yet? Please let me know in the comments below!
Published on:
Learn moreWe can help you with How to Use Flexible Sections in SharePoint Pages and News
If you want help implementing, troubleshooting, or improving this product, contact us and we’ll point you in the right direction.

Related posts
Creating Copilot Studio Agents Without an M365 Copilot Premium License
A common assumption when getting started with Copilot Studio is that you need a full Microsoft 365 Copilot Premium license. That assumption is...
Power Automate: Get events (V4) shared mailbox fix
When your flow reads a shared mailbox calendar using the Office 365 Outlook → Get events (V4) connector, it can fail in a way that looks like...
Using Managed Identity with Azure Automation & PnP.PowerShell
How to Set Up a Managed Identity for Azure Automation Runbooks and Use It in PowerShell Scripts with PnP.PowerShell This guide walks you throu...
UPDATED - Set Up Pay-as-you-go M365 Chat & SharePoint Agents
Introduction to Pay-as-You-Go Agents in Microsoft 365 Microsoft has introduced a flexible way for organizations to leverage AI capabilities wi...
What's New in SharePoint Pages
1. New Carousel Layout in the Hero Web Part The Hero Web Part has always been a fundamental element of SharePoint pages. The new Carousel Layo...
Power Platform Solutions Made Simple
Introduction to Power Platform Solutions Power Platform Solutions offer many benefits, especially when moving from standalone flows and apps t...
Use your Bluesky post for comments on your Hugo Blog
Since Bluesky is getting really popular by people I interact with, I decided to switch my blog comments to Bluesky posts. In this blog post, I...
Exploring SharePoint Online's SiteAssets Library
The SiteAssets library in SharePoint Online often seems like a mystery to a lot of users I talk to, but it’s important to understand it ...
Step-by-Step Guide to Copy Pages between SharePoint Online
Unfortunately you can’t copy pages in SharePoint through the UI. But sometimes you may need to copy pages and their associated SiteAsset...
Re-creating Multilanguage Links: A Step-by-Step Guide
Maybe you’ve also stumbled upon the issue of missing multilanguage links in your SitePages library in SharePoint Online. This can happen...