
M365 Groups: Set Up a 'No Owner Policy' & why it's Important

Introduction
Managing group ownership is crucial for maintaining order and security within an organization in Microsoft 365. A “No Owner Policy” in Microsoft 365 Groups prompts members to assume ownership when the original owner leaves, ensuring continuity and accountability. This blog post explores setting up this policy, its importance, and the different settings options.
The Importance of a No Owner Policy
Ensuring Group Continuity
When a group’s owner leaves, it can disrupt the group’s direction and leadership. The No Owner Policy addresses this by asking members to take ownership, ensuring the group remains active and well-managed.
Facilitating Other Policies
This policy is instrumental in supporting other group management policies. For example, the Inactive Group Policy or Guest Access Review Policy require an active owner for key decisions. Without this, such policies will not work correctly, leading to unmanaged groups or security risks.
How-to Set Up a No Owner Policy
Access Microsoft 365 Admin Center
- Login: Sign in to the Microsoft 365 Admin Center using an administrator account.
Navigate to Groups
- Find Groups Section: In the Admin Center, locate the ‘Settings’ section. This is typically found in the navigation pane.
Implementing the Policy
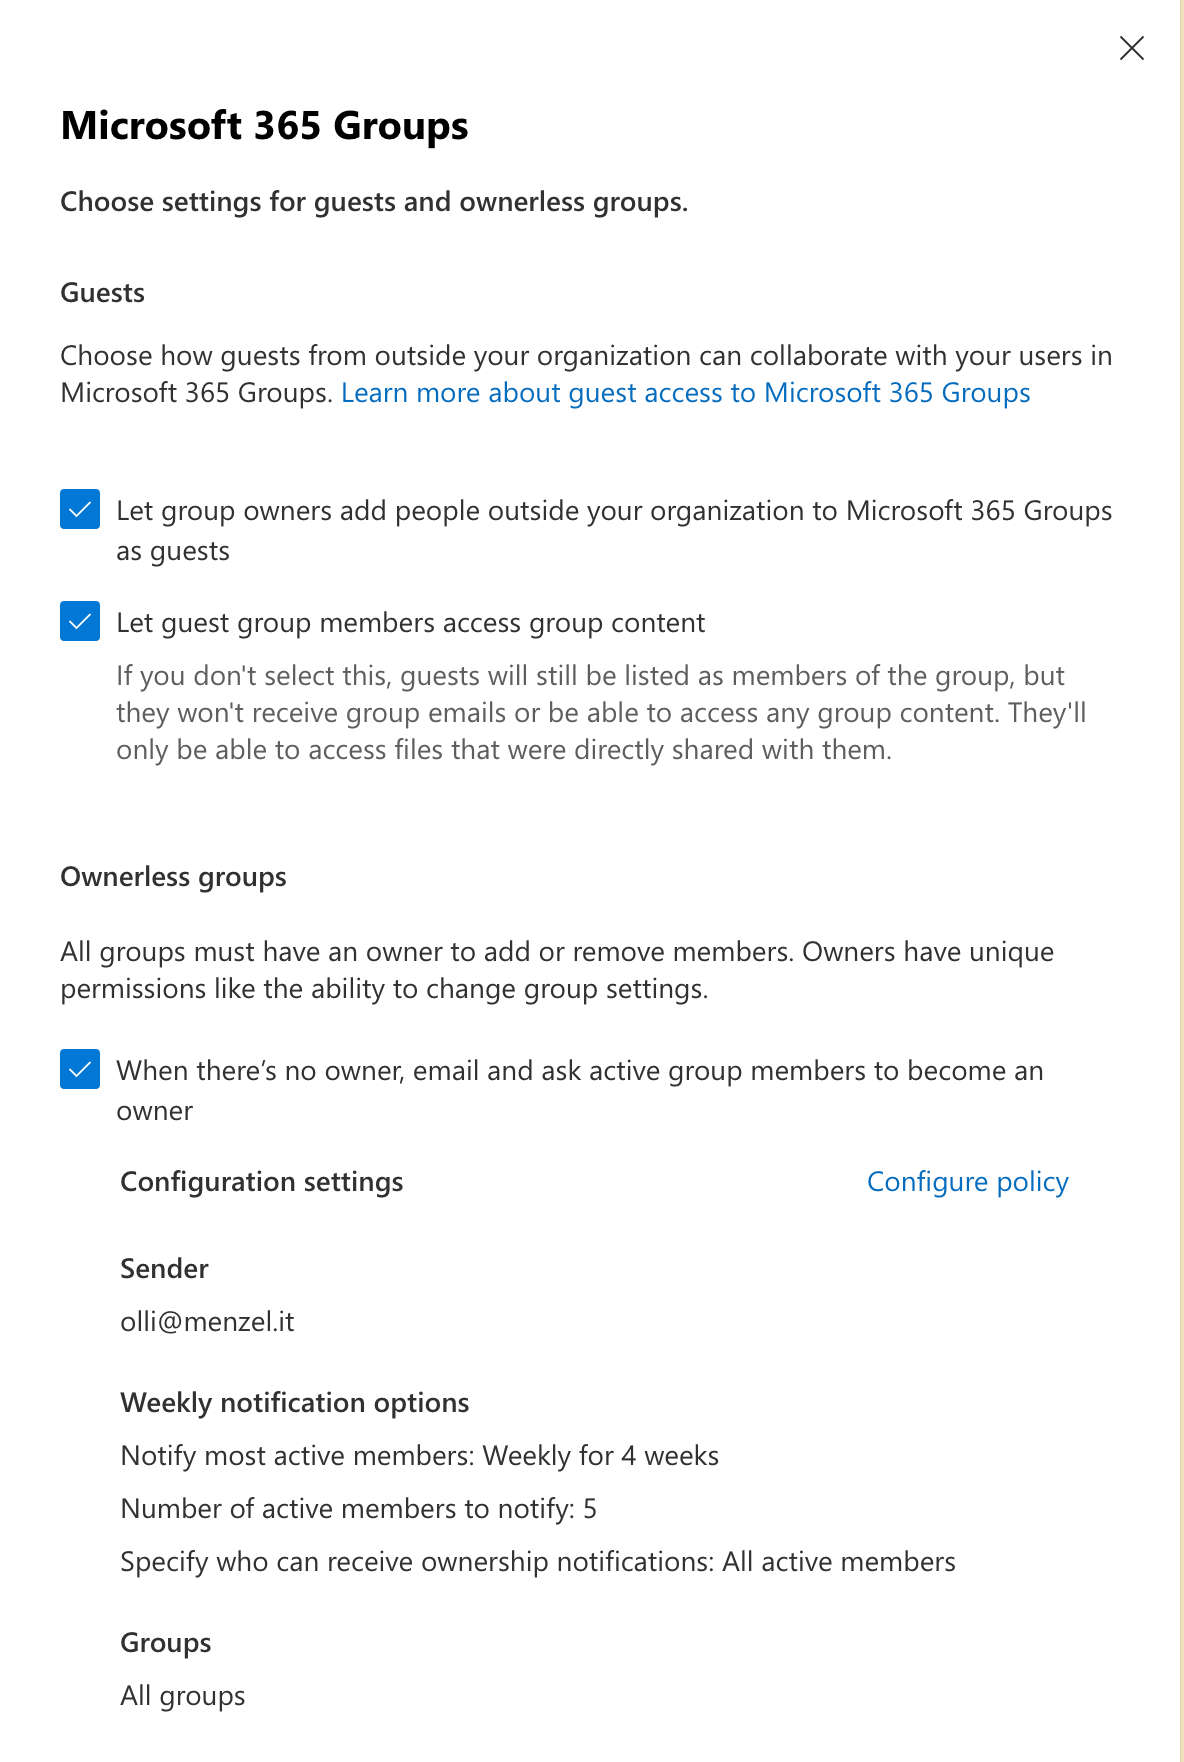
- Locate Group Policies: Within the Settings section, go to ‘Microsoft 365 Groups’.
- Enabling No Owner Policy: Look for an option that triggers a notification for group members to volunteer for ownership when the current owner leaves. Enable this setting.
Configuring Notifications
You can configure the following settings by clicking on the ‘Configure’ link:
-
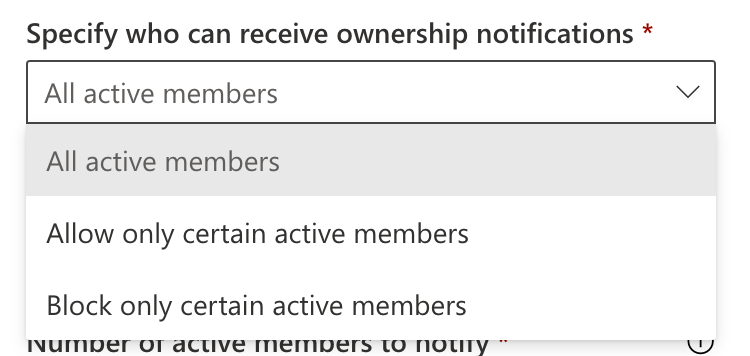
Specify who can receive ownership notifications: Choose whether all members or only selected members can receive notifications.
-
Number of active members to notify: Set the number of members to notify. Only up to 90 active members, who aren’t guests, can be notified per group.
-
Notify most active members: Set for how long these notifications are sent. Consider the urgency and how best to prompt a response without causing notification fatigue.
-
Select a sender: Choose who the notification is sent from. This can be the group email or a specific user.
-
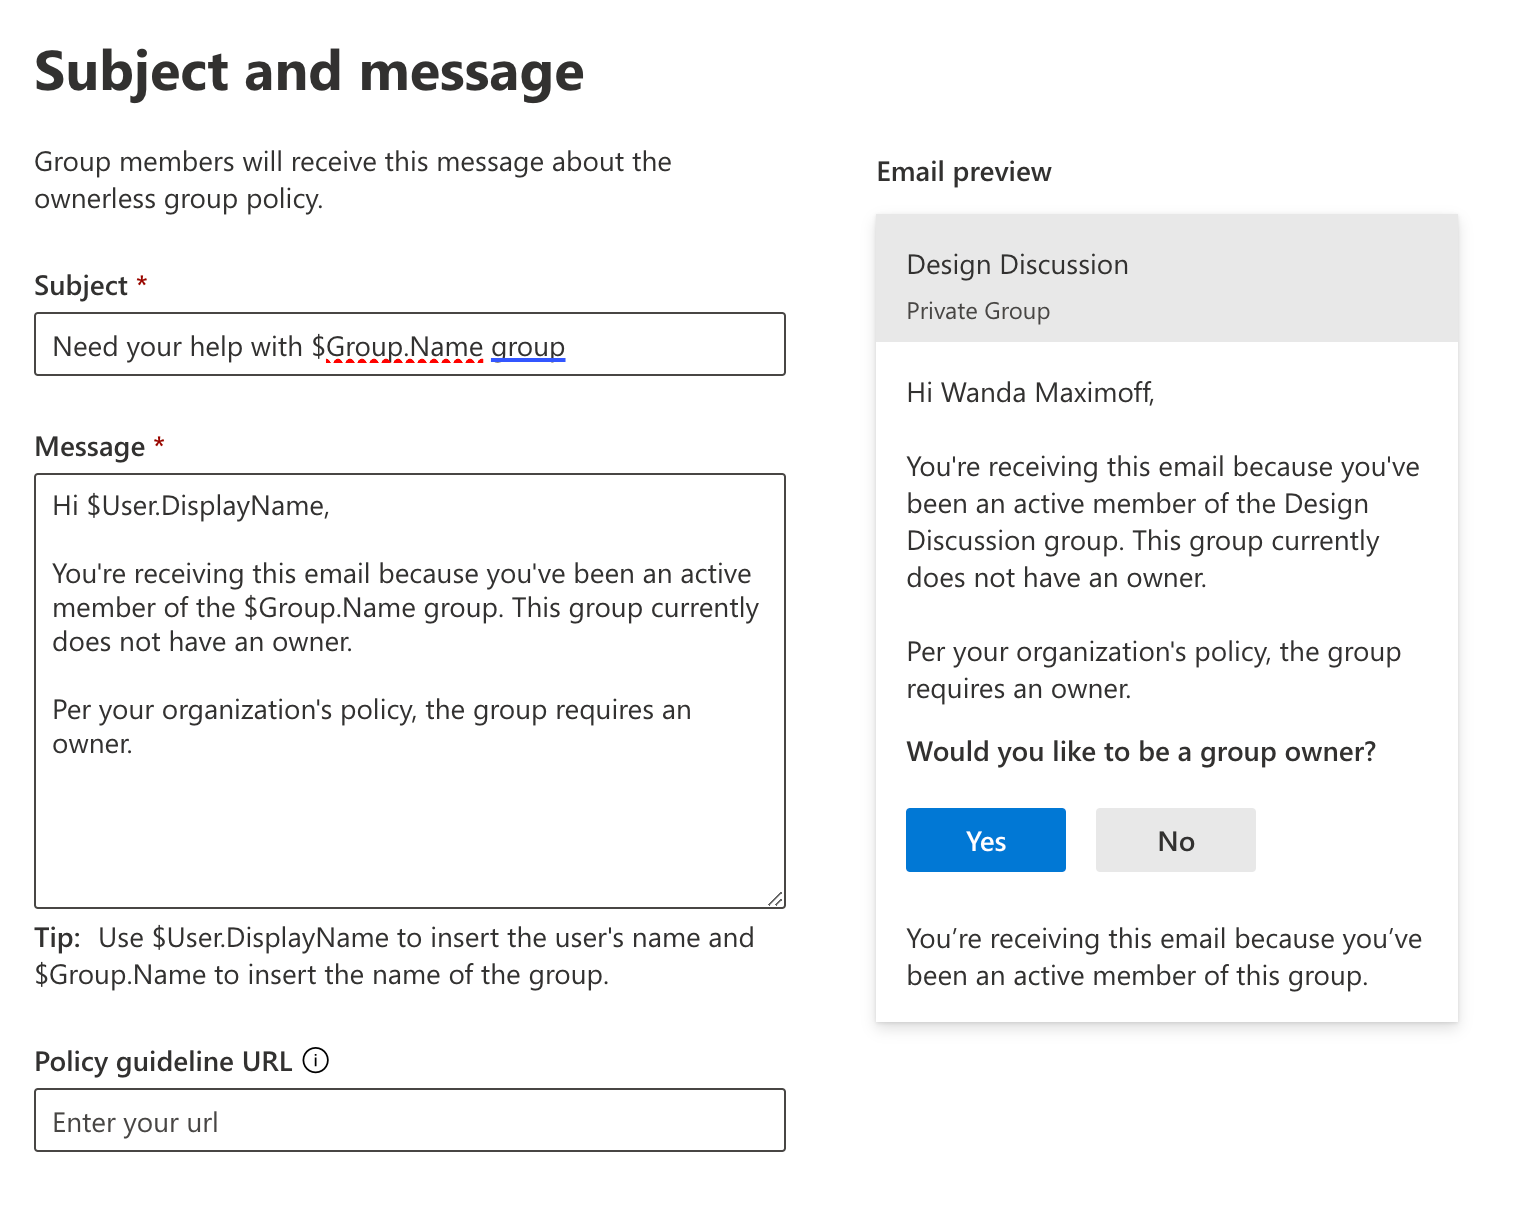
Customize Notification Messages: Edit the default message to clearly explain why the member is receiving this notification and the importance of taking ownership.
-
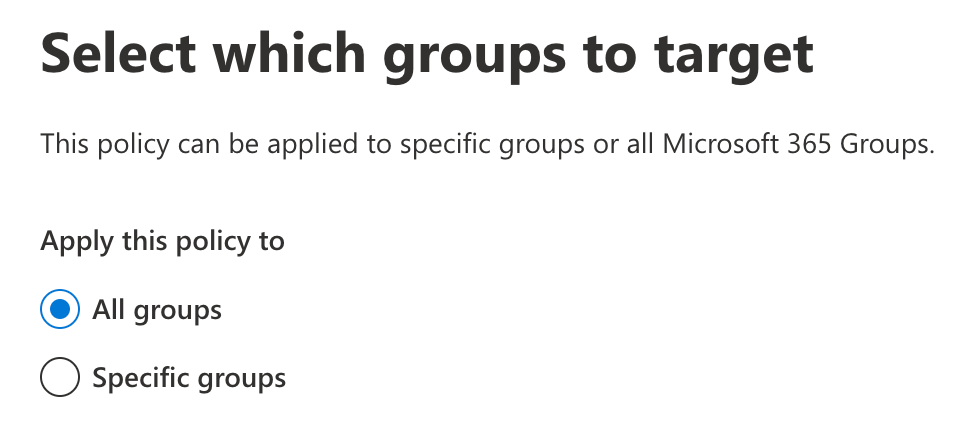
Select which groups to target: Choose which groups to target with this policy. You can select all groups or specific groups.
Save and Test
- Review and finish: Review the settings and click ‘Save’ to implement the policy.
- Test the Policy: It’s a good practice to test the policy with a few groups to ensure it works as expected and members receive notifications.
Conclusion
Setting up a No Owner Policy in Microsoft 365 Groups is a proactive step towards ensuring seamless group management and security. By following this how-to, organizations can effectively implement this policy to maintain continuous and responsible group management.
If you have any questions or feedback, please leave a comment below or reach out to me on social media.
Published on:
Learn moreWe can help you with M365 Groups: Set Up a 'No Owner Policy' & why it's Important
If you want help implementing, troubleshooting, or improving this product, contact us and we’ll point you in the right direction.
Related posts
Creating Copilot Studio Agents Without an M365 Copilot Premium License
A common assumption when getting started with Copilot Studio is that you need a full Microsoft 365 Copilot Premium license. That assumption is...
Power Automate: Get events (V4) shared mailbox fix
When your flow reads a shared mailbox calendar using the Office 365 Outlook → Get events (V4) connector, it can fail in a way that looks like...
Using Managed Identity with Azure Automation & PnP.PowerShell
How to Set Up a Managed Identity for Azure Automation Runbooks and Use It in PowerShell Scripts with PnP.PowerShell This guide walks you throu...
UPDATED - Set Up Pay-as-you-go M365 Chat & SharePoint Agents
Introduction to Pay-as-You-Go Agents in Microsoft 365 Microsoft has introduced a flexible way for organizations to leverage AI capabilities wi...
How to Use Flexible Sections in SharePoint Pages and News
If you’ve been using SharePoint Online to build pages or share news, you know how important it is to have a layout that works for your c...
What's New in SharePoint Pages
1. New Carousel Layout in the Hero Web Part The Hero Web Part has always been a fundamental element of SharePoint pages. The new Carousel Layo...
Power Platform Solutions Made Simple
Introduction to Power Platform Solutions Power Platform Solutions offer many benefits, especially when moving from standalone flows and apps t...
Use your Bluesky post for comments on your Hugo Blog
Since Bluesky is getting really popular by people I interact with, I decided to switch my blog comments to Bluesky posts. In this blog post, I...
Exploring SharePoint Online's SiteAssets Library
The SiteAssets library in SharePoint Online often seems like a mystery to a lot of users I talk to, but it’s important to understand it ...
Step-by-Step Guide to Copy Pages between SharePoint Online
Unfortunately you can’t copy pages in SharePoint through the UI. But sometimes you may need to copy pages and their associated SiteAsset...