Loading...

Social media content creator with AI Promts

Social media content creator with AI Promts
Featured image of post Social media content creator with AI Promts

Prerequisites

For this tutorial you need the following:

Create AI Prompt in Power Platform

  1. Go to Power Automate

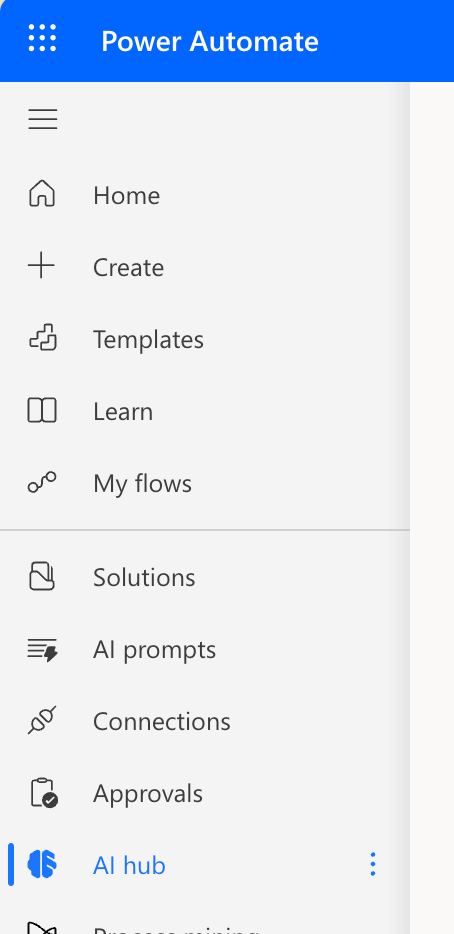
  2. Click on AI hub in the left navigation

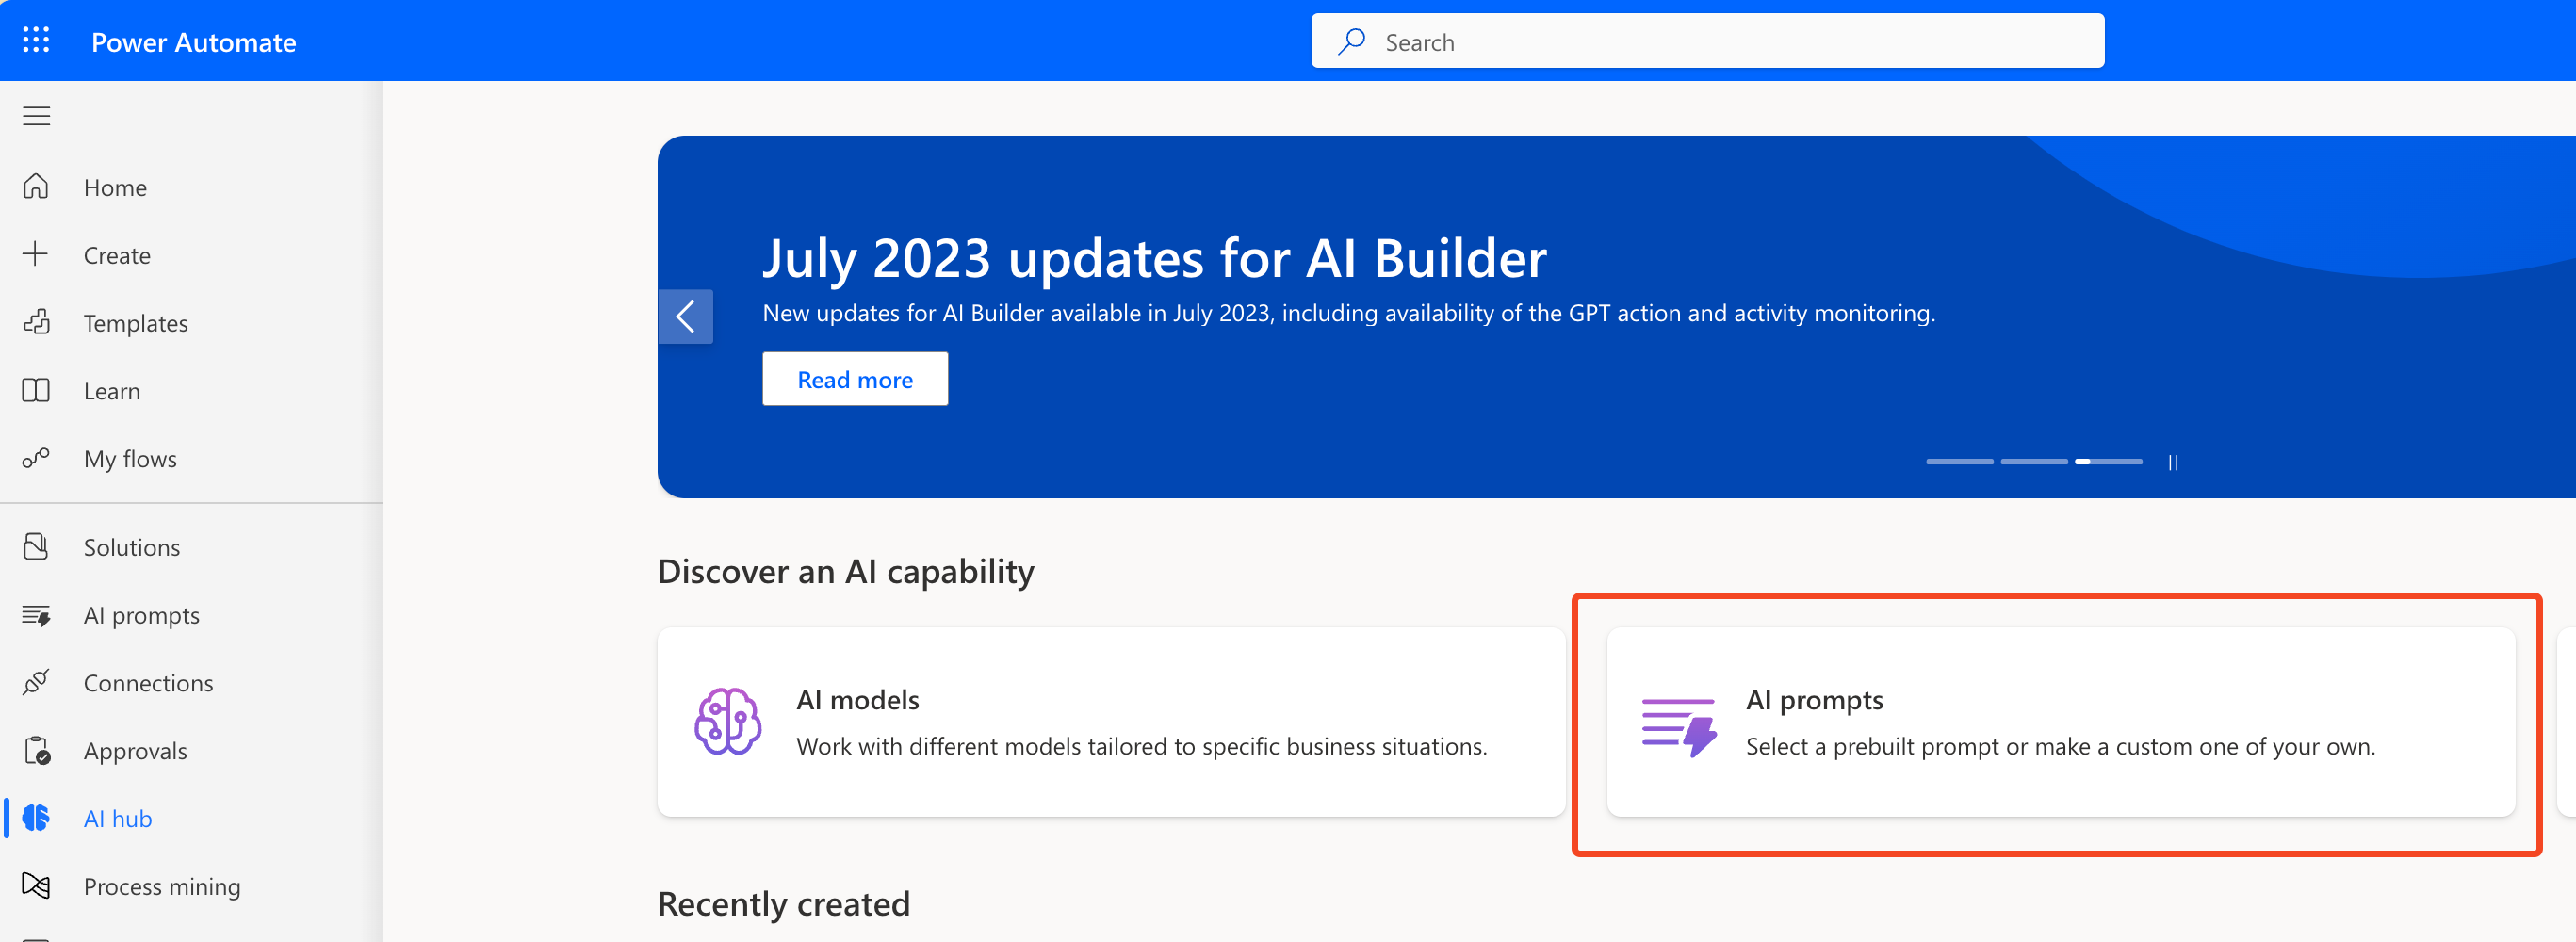
  3. Choose AI Prompts

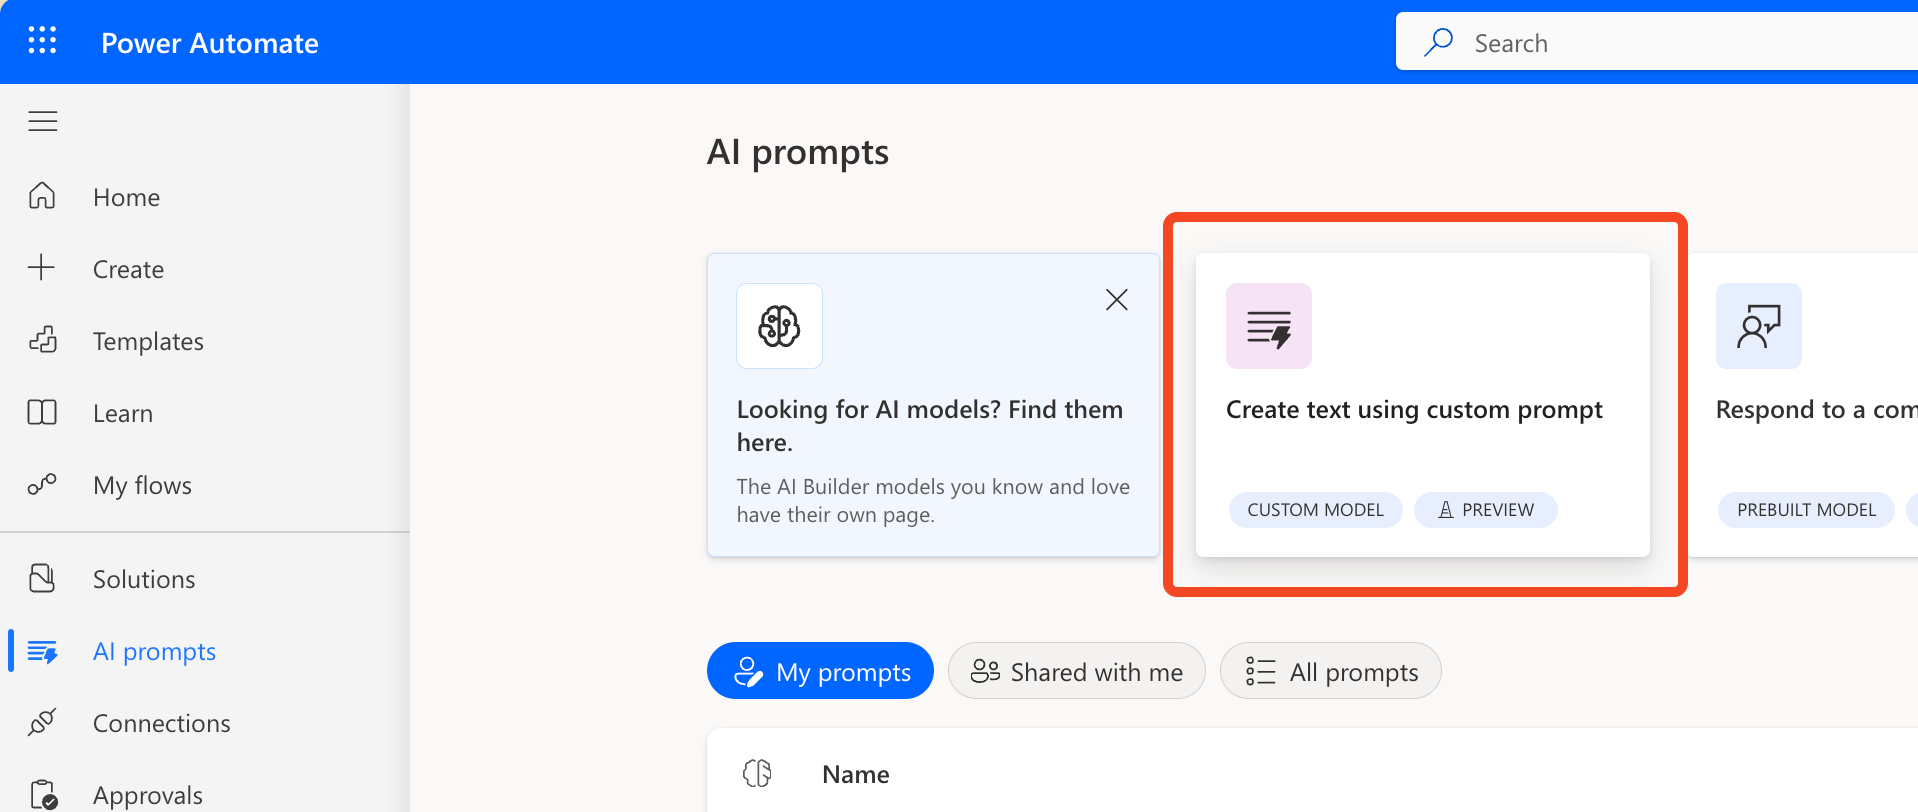
  4. Click on Create text using custom prompt

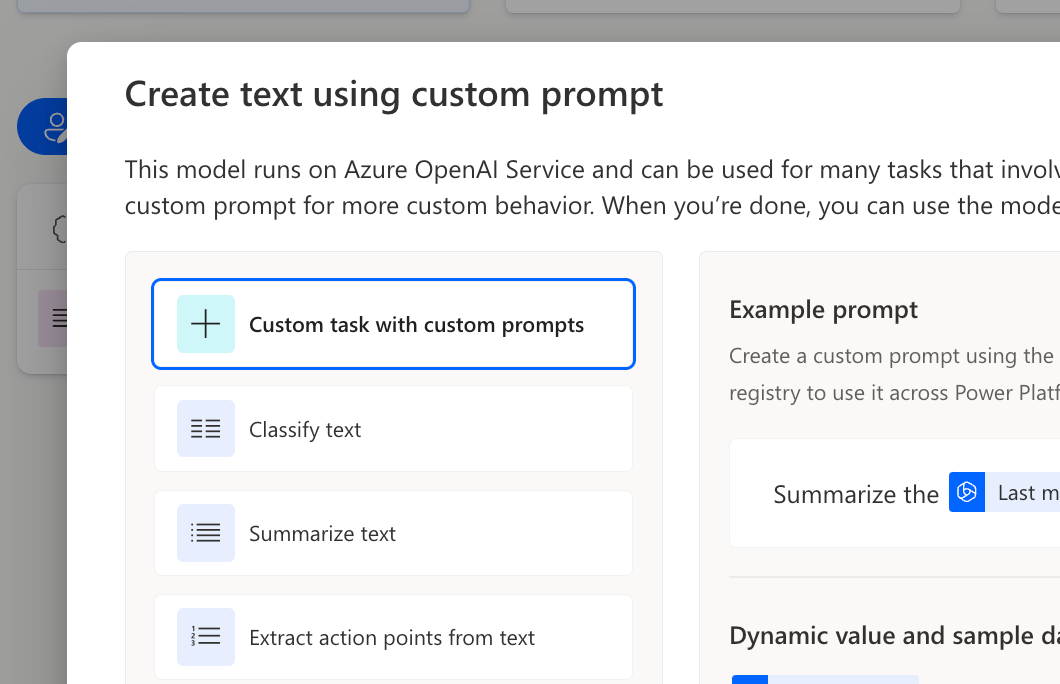
  5. Choose Custom task with custom prompts and click on Create custom prompt

  6. Enter a name for your AI Prompt

  7. Enter your prompt (here is what I used for my prompt)

    As an expert in social media, create me witty posts for my social networks (Bluesky and Mastodon) with meaningful hashtags (Microsoft centric) about my newest Blog post that you can find here: [Dynamic Value BlogURL] . Also please take the lowest character count into consideration for the two networks. Also create another post for LinkedIn that can be a bit longer. Please create the posts in a way that will make my followers want to know more about the blog post e.g. with examples or some insides. Please also don’t add any BlogURL. Please just response the post without any explanations. but in the following format: { “ShortPost” : Post text for BlueSky and Mastodon, “LinkedInHeading” : Headline for LinkedIn Post, “LinkedInPost” : Post text for LinkedIn }

Create the Flow in Power Automate

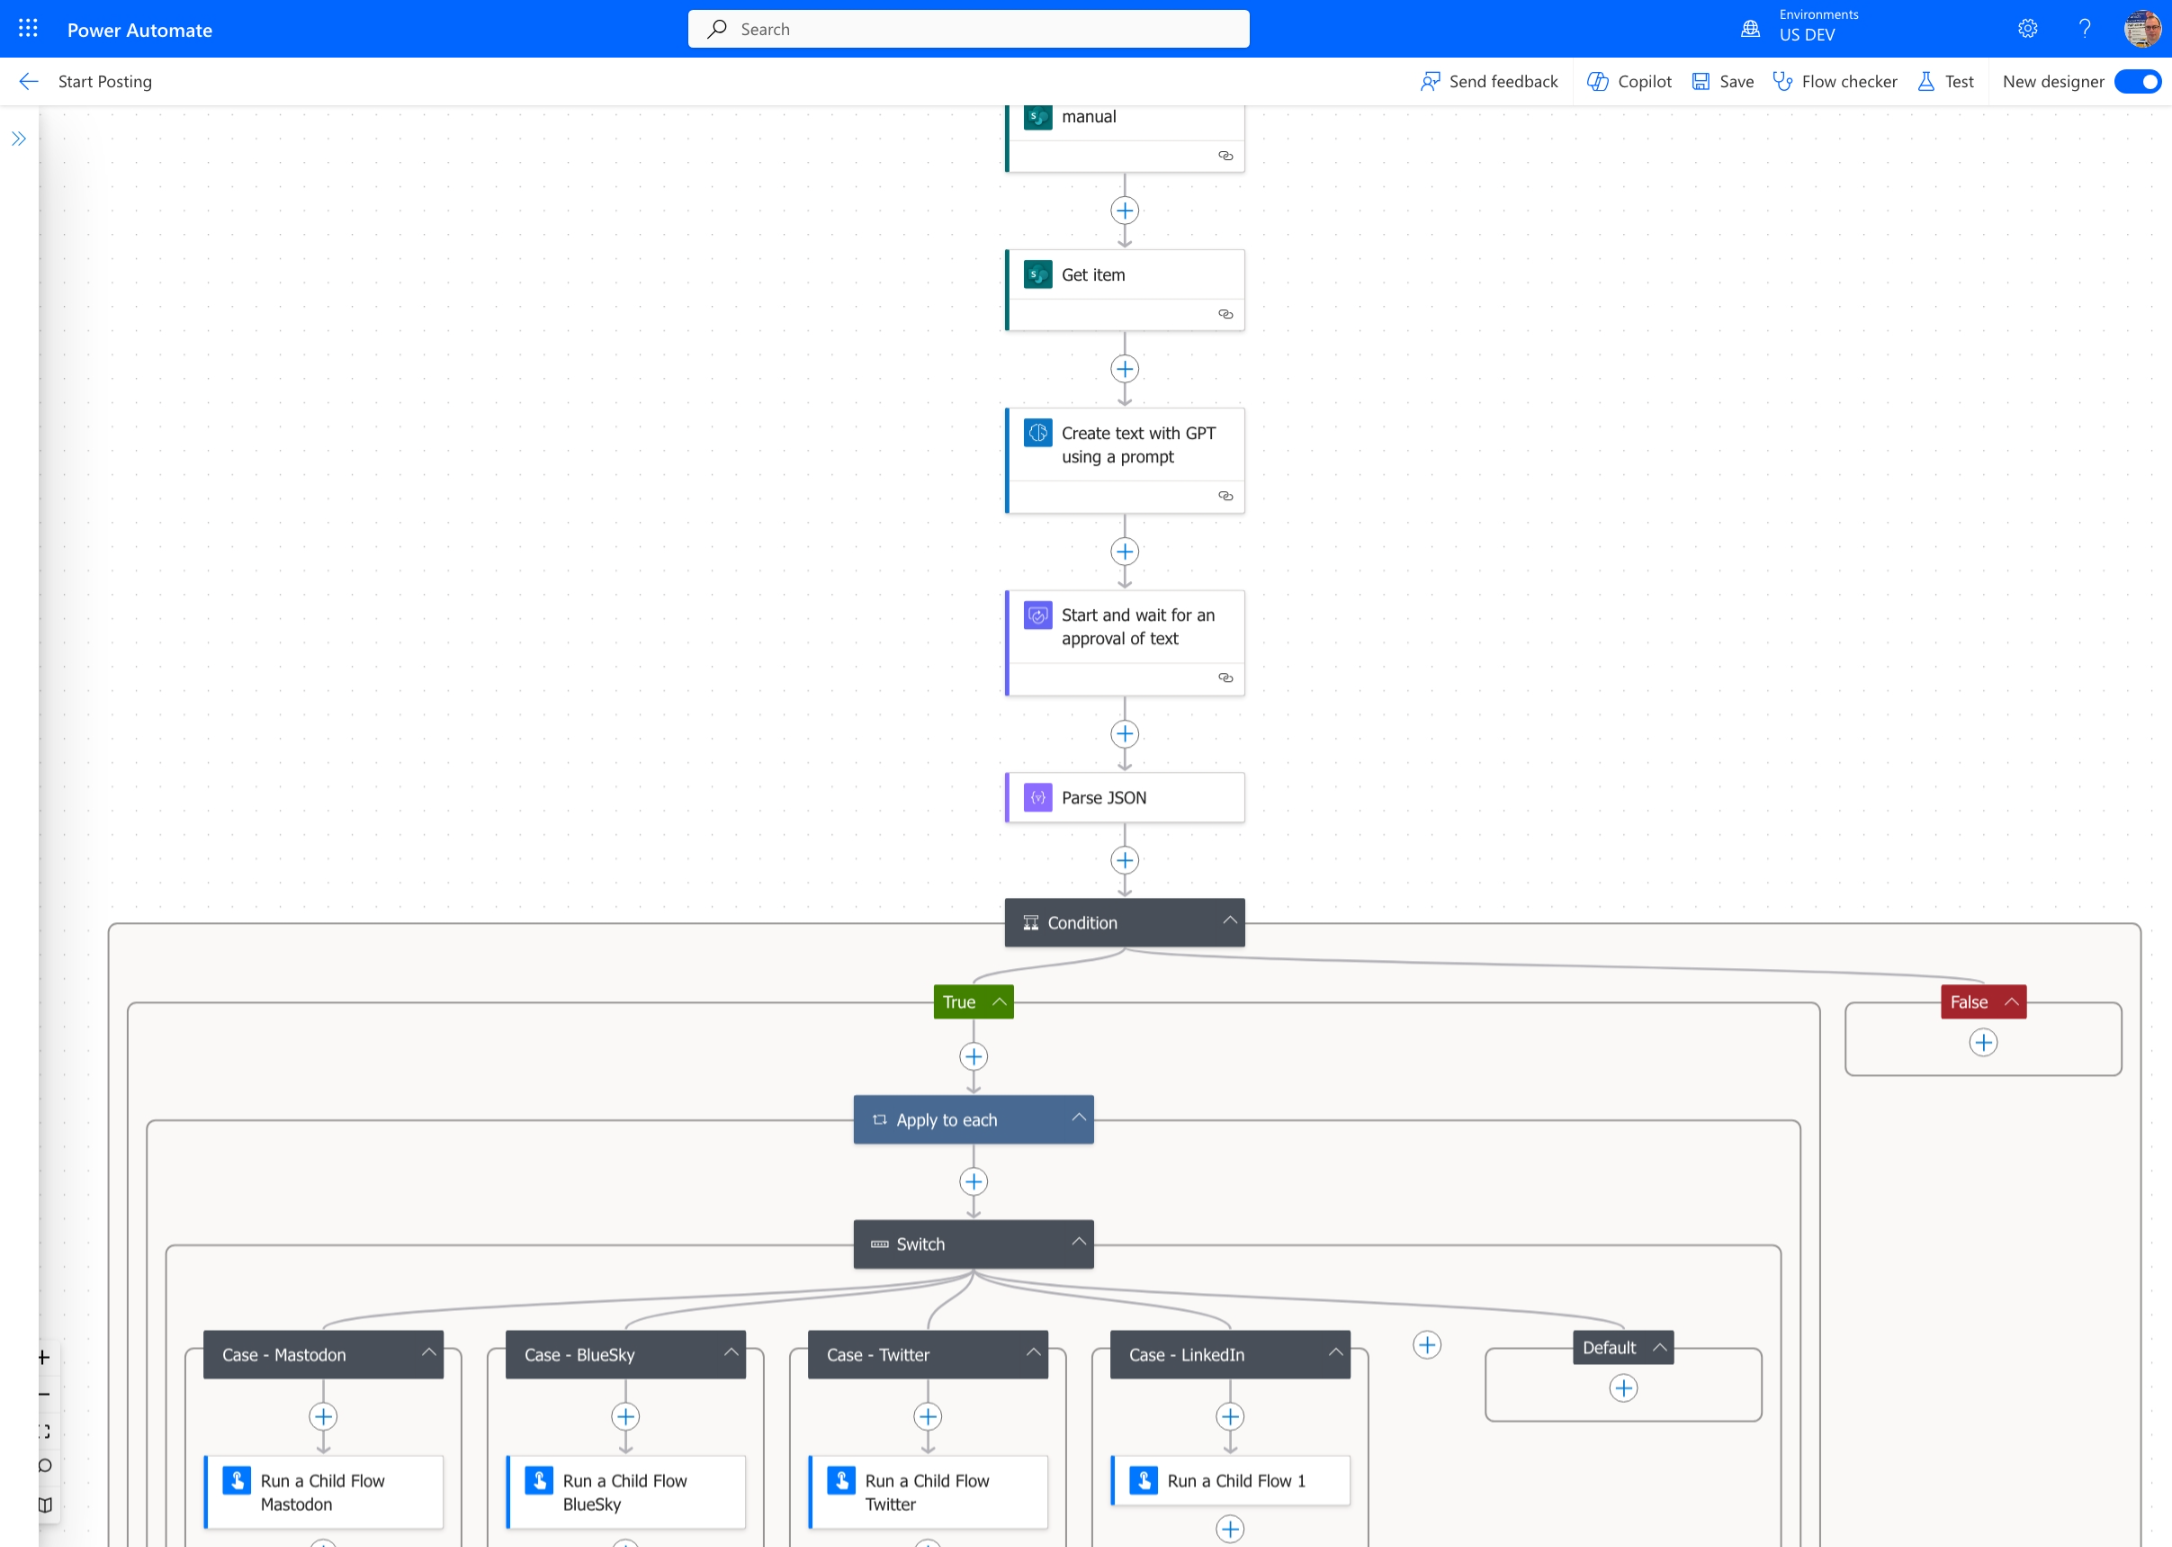
This is the Flow I created for writing post on social media. I will explain the steps in the following sections.

  1. “Manually trigger a flow” (this is the trigger) Of course you could also use another trigger like schedule post from a calendar .
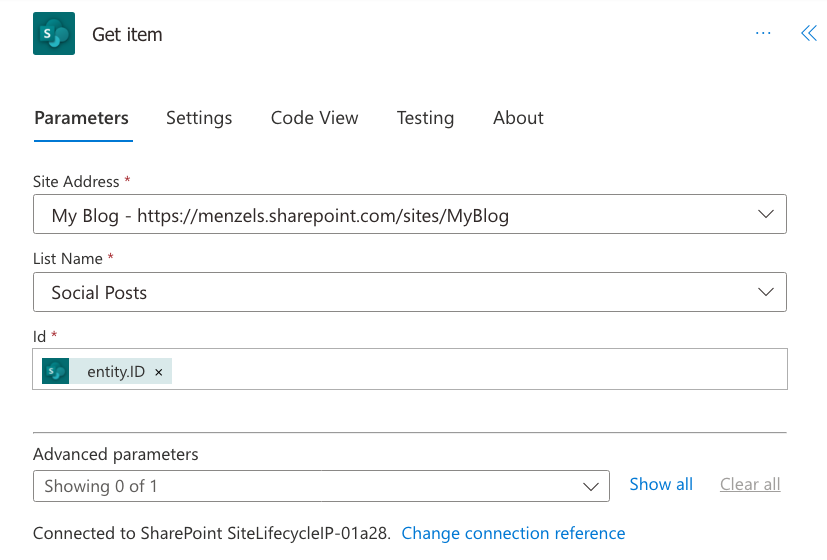
  2. “Get Item” from SharePoint Online. This step gets the URL of the newest blog post from my SharePoint Blog list.
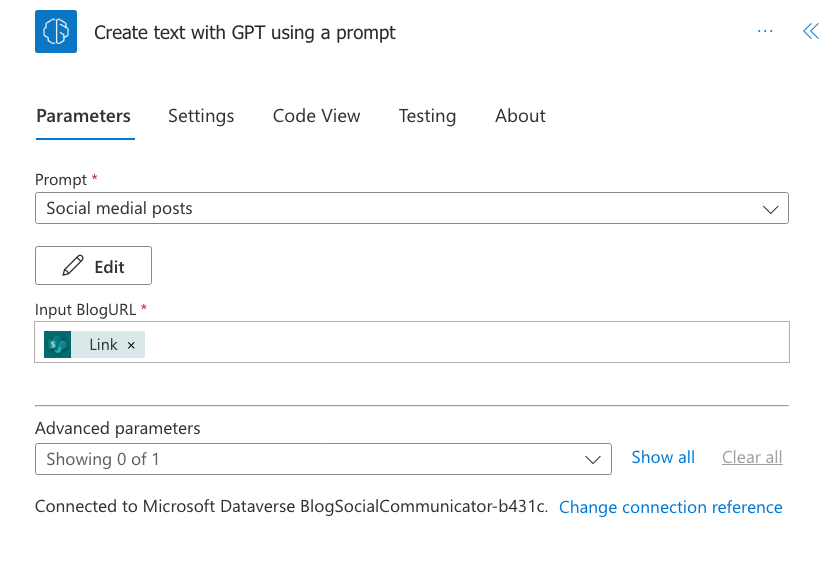
  3. “AIBuilder Predict Custom Prompt” from Common Data Service for Apps. This step uses the AI Prompt we created in the previous section to create the post text for the social media networks.
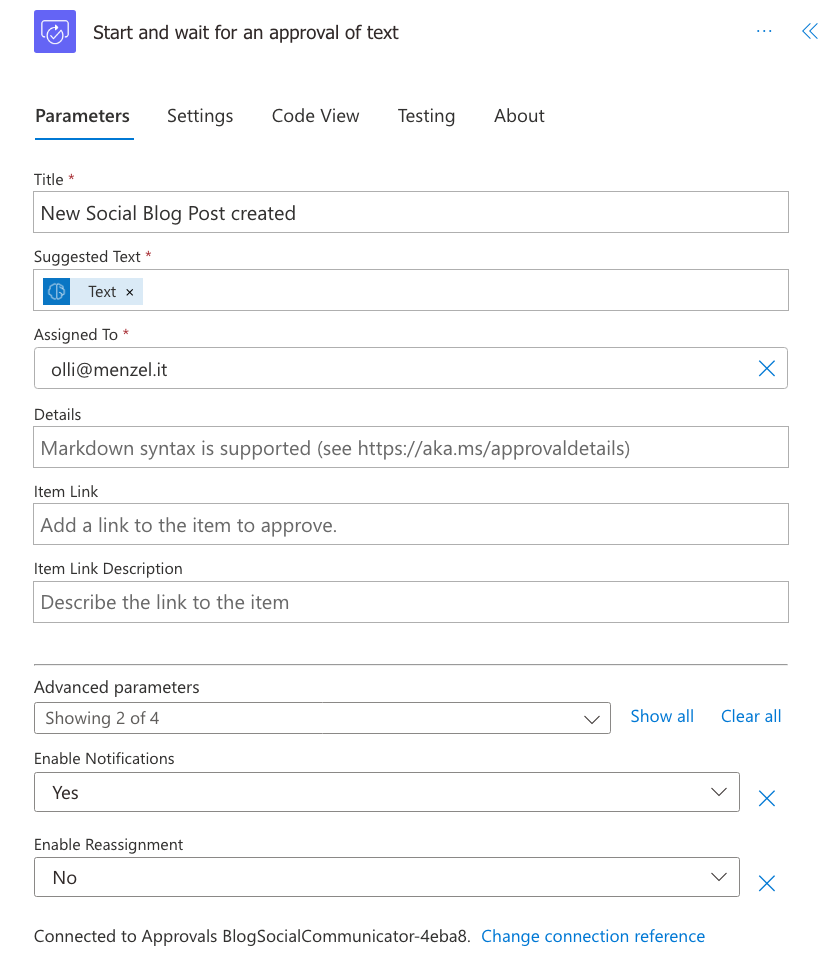
  4. “Start and Wait for a Text Suggestion Approval” from Approvals. This step waits for the approval of the post text. I use this step to check the post text before it is posted on social media. If you don’t want to check the post text before it is posted on social media you can skip this step and go directly to the next step.
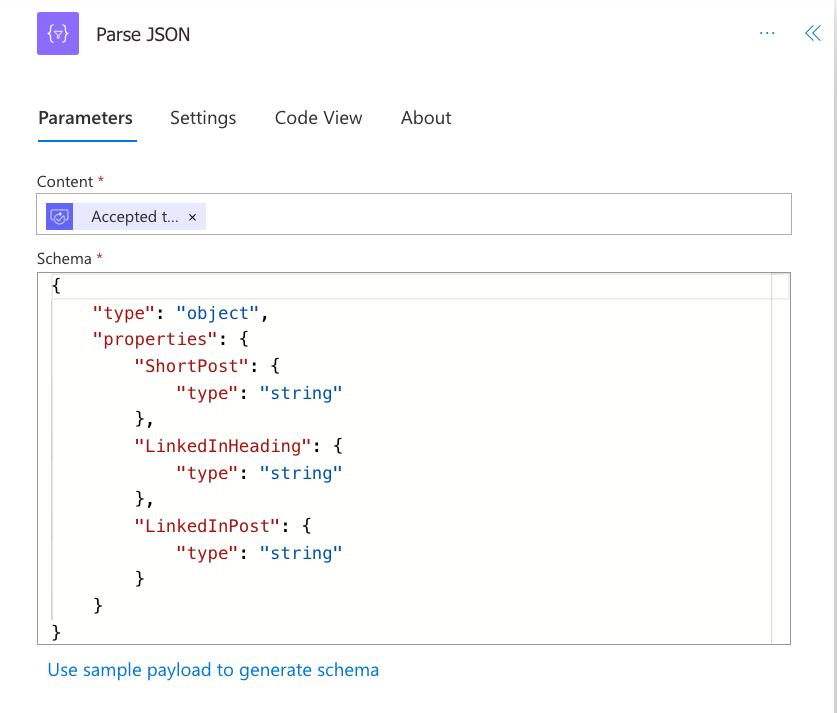
  5. “Parse JSON”. This step parses the JSON from the previous step and creates the variables for the post text. Copy the JSON from the AI Builder step and paste it into the “Schema” field.
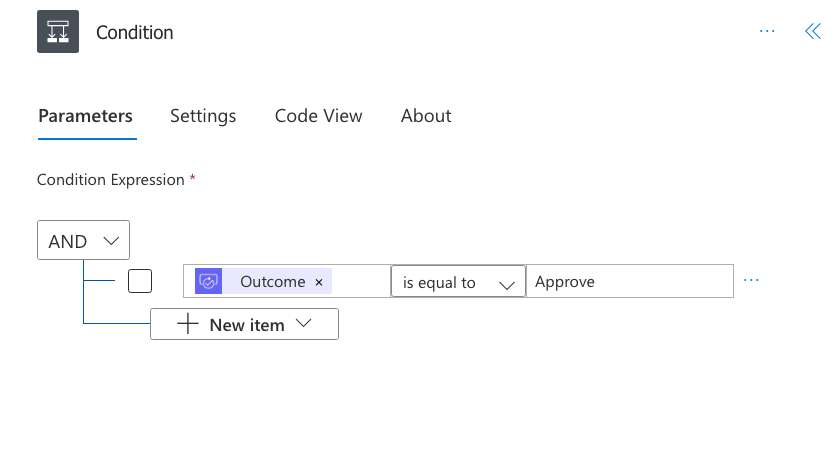
  6. “Condition”. This step checks if we approved the AI generated post text or not. If we approved the post text it will go to the next step. If we didn’t approve the post text it will go to the “Condition - No” step which will lead to the end of the Flow.
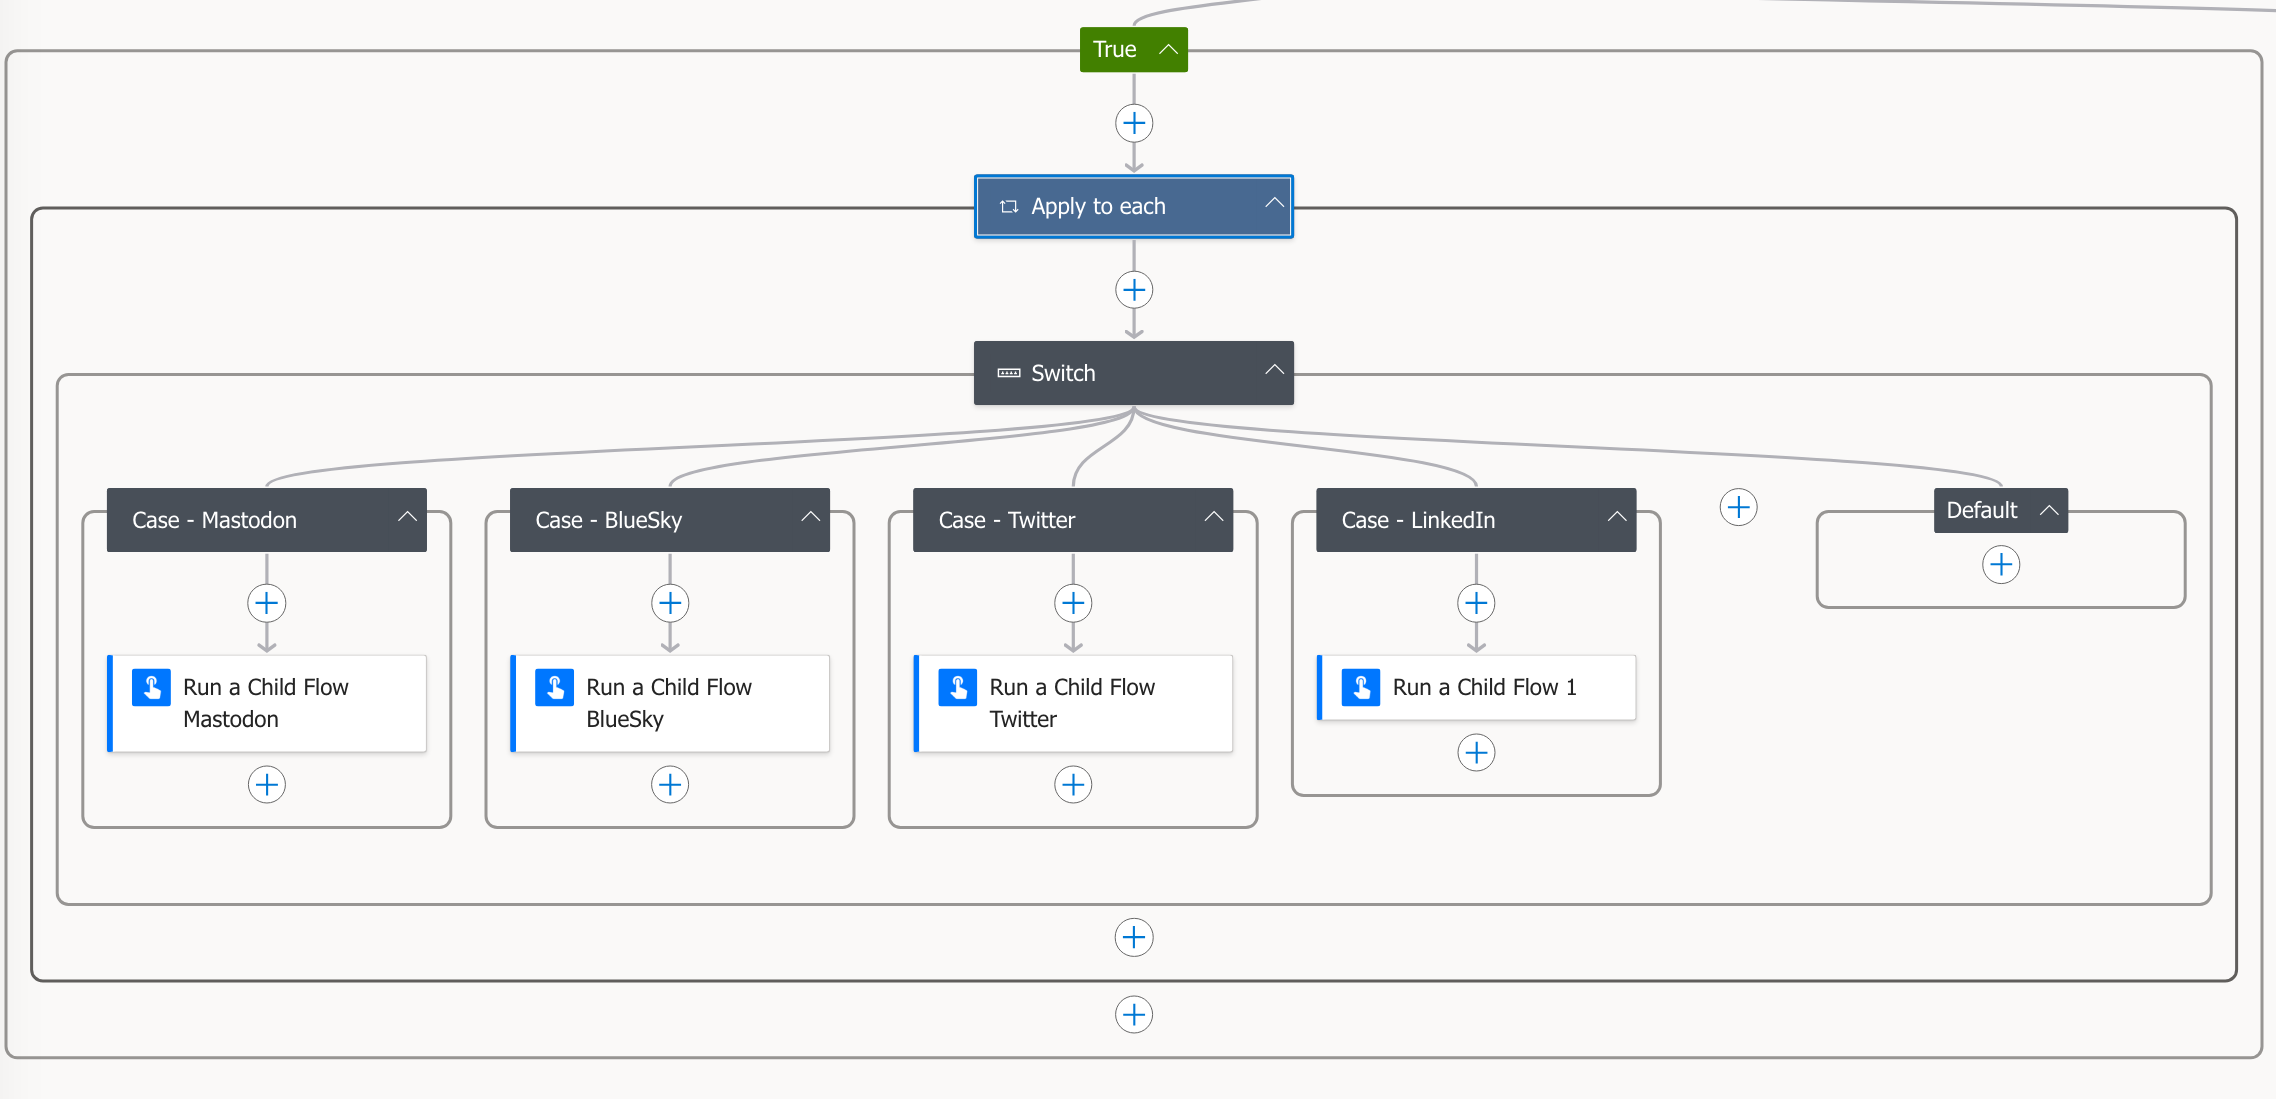
  7. “Apply to each”. This step will create a post for each social media network that we put in the Column in the SharPoint list. With the “switch” step we are running the “Run a Child Flow” step to create the post for each needed social media network. As you can see this is a very simple Flow. But it will save you a lot of time and you can be sure that your post text is correct. Now let’s see how you will use this Flow to create your social media posts. Please leave a comment if you have any questions or suggestions. Also please share your use cases for this Flow.


Published on:

Learn more
The State of the Microsoft 365 Nation

Recent content on The State of the Microsoft 365 Nation

Share post:

Related posts

Silently Update SharePoint Metadata with PnP PowerShell

Why Bother with Metadata? Think of metadata as the DNA of your SharePoint content. It tells you who created a document, when it was last touch...

2 years ago

New Editing Options for Image Web Part in SharePoint Online

Adding and Editing Images with the Image Web Part The Image web part simplifies the process of adding visual elements to your SharePoint Onlin...

2 years ago

External User Access Reviews in Office 365

Understanding External User Access Before diving into the reviews, it’s important to understand what external access entails. External u...

2 years ago

Power Automate - How-to Posting on BlueSky and Mastodon

Introduction Do you want to save time and effort by automating your social media posts across different platforms? Do you want to learn how to...

2 years ago

M365 Groups: Set Up a 'No Owner Policy' & why it's Important

Introduction Managing group ownership is crucial for maintaining order and security within an organization in Microsoft 365. A “No Owner...

2 years ago

Change SharePoint group to Security Groups with PowerShell

Automating SharePoint Permissions with PowerShell Managing SharePoint user permissions can be a complex and time-consuming task, especially fo...

2 years ago

Deleting doublettes in SharePoint list with PnP PowerShell

In this blog post, I will break down a PnP PowerShell script that is designed to connect to a SharePoint site, retrieve a list of users from a...

2 years ago

Limit Copilot's access to SharePoint Sites and Content

Why Permissions in Office365 matter for Copilot In the ever changing digital landscape, managing permissions and ensuring data security are pa...

2 years ago

Microsoft Teams Channel Types: How to Choose the Right One

Introduction Microsoft Teams is a powerful collaboration tool that allows you to communicate, share, and work with your team members in a secu...

2 years ago

Getting Started with Power Platform dev environment

Power Platform is a suite of low-code/no-code tools that enable you to build PowerApps, Power Automate workflows, and analyze data PowerBI. Th...

2 years ago
Stay up to date with latest Microsoft Dynamics 365 and Power Platform news!
* Yes, I agree to the privacy policy