
How to build customized container image for Azure Batch

Sometimes, users will need to install some necessary software/packages in the environment before the task is executed. This can be easily done by using Start task feature of Azure Batch.
But when there are many dependencies to be installed, for example 20 packages in Linux and the installation of some of them will take long time such as Tensorflow, it will cause additional problems such as long start task running time when Azure Batch starts Batch node every time or even possible timeout issue or start task failure issue.
In order to avoid this issue, user has two options: Custom image and Container. Both of these two features are supported in Azure Batch. The way of using custom image is already explained here. This blog will mainly explain how to use the container feature.
One additional advantage is that for some special scenarios when the Batch task (application) has strong dependencies on a specific Operation System (OS) version, such as the Linux Ubuntu 18.04 which will reach EOL on Apr 30th 2023, what user needs to further consider is only the compatibility between the container OS and the host OS(selected when you create Batch pool) if he selects the container feature. And it will be easier for user to recreate/modify the environment itself as he only needs to modify the Dockerfile, but not to recreate a new Virtual Machine to capture a new custom image.
In this blog, the container image will be based on Linux Ubuntu 20.04. Assume that the Batch application needs a specific Python package called numpy as dependency. This blog will install this package based on a requirement.txt file, capture it into a container image, create a Batch pool based on this container image and verify the environment is good by running Batch task.
Note: This is just one simplest example. For real situation, user will need to modify the Dockerfile and include much more his own files when he creates the container image.
Pre-requisites:
- An Azure Batch account
- An Azure Container Registry
- The commands and/or the packages of installing dependencies
- Docker Desktop on Windows (The example used in this blog will all be with Windows OS, including the computer where we create image, the container image OS and the host OS. For Linux system, please kindly change the configuration.)
Step 1: Create the own container image
- In order to create a new container image, user needs to prepare the following files:
- The Docker File
- Other dependency components which will be needed (For example the requirement.txt in this scenario)
Note: Please pay attention that the Dockerfile should be without any extension name. The Dockerfile.txt will not work.
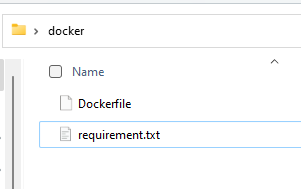
Dockerfile:
requirement.txt:

Note: In rare situation, Batch task may need to wait until a request is sent from other client sides to Batch node. In this scenario, please kindly add the EXPOSE {port} line to export the port of the container to host machine. For more details about how to write Dockerfile, please check this official document from Docker.
- Once the files are prepared, user can start creating the container image.
- Open Docker Desktop and make sure to login

- Right click the tray icon and select Switch to Linux containers.
- Open Powershell in the folder containing Dockerfile and following command:
The expected result is like the following one. (This step might take lots of time to finish depending on the network speed as Docker is downloading the container image as base.)

- Find the username and password from Azure Container Registry and use the following command to login:


- Use the following commands to upload the container from local Docker to Azure Container Registry.

Until here, the container is successfully created and uploaded into Azure Container Registry.
Step 2: Use the container image to run Batch task
- User can then create a new pool and configure the container related setting in this node. The other configuration can be set as usual.
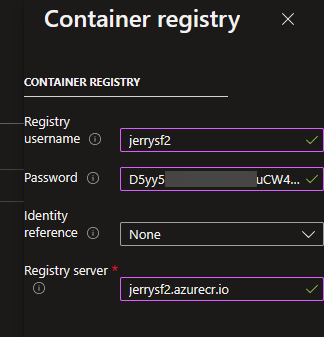
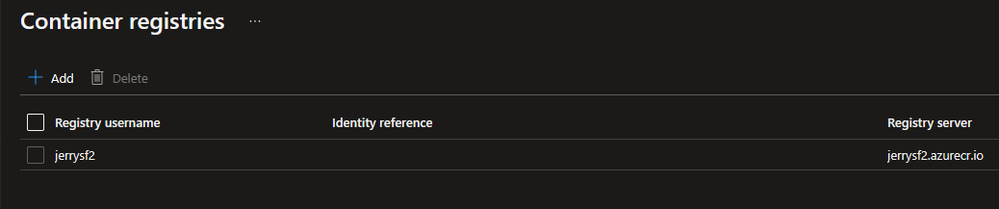

- Once the node is idle, please add a new job with a new task and link it to this new Batch pool. While creating the new task, please remember to select the correct Image. The following example uses a command line to let container python environment import numpy package, set variable a with value 1, then print out the value of variable a.
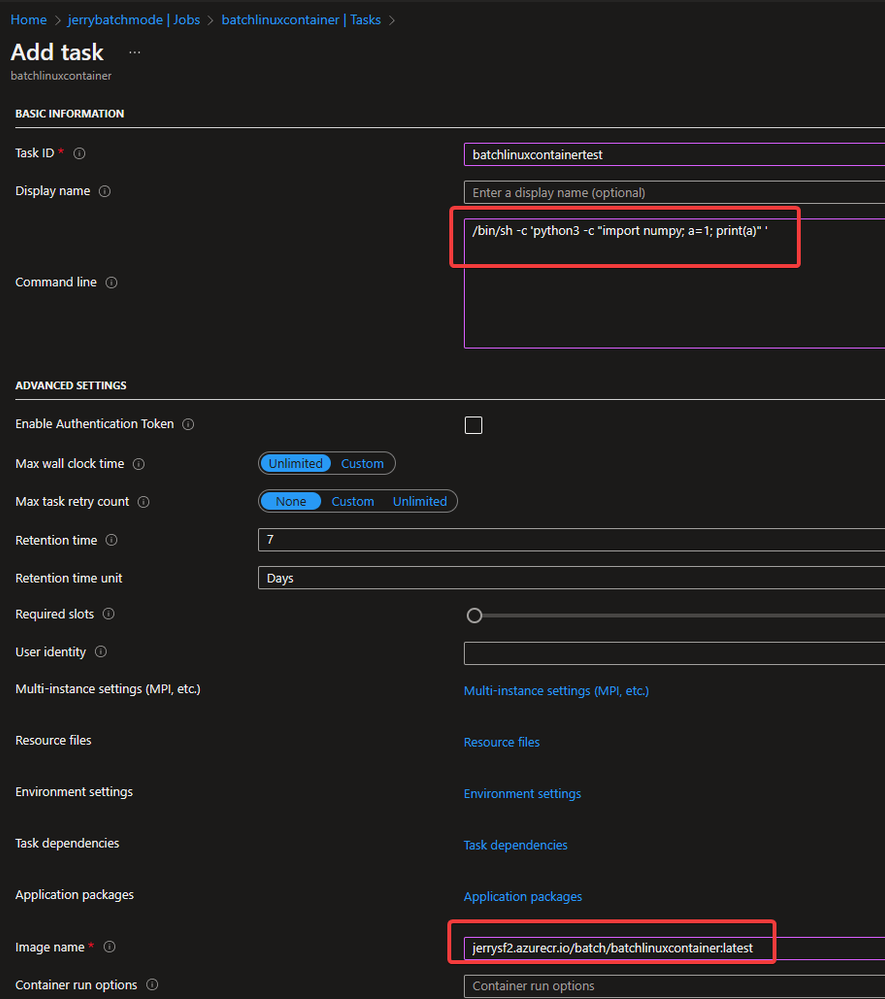
The expected output should be just “1”.
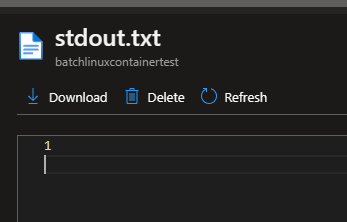
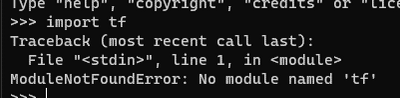
This proved that our container is successfully created and the installation of python package is also good, otherwise there will be an error message reporting the module not found like following one.
Conclusion
The real user scenario will be more complicated, but the principal way of creating the customized container will be the same. The example Dockerfile in this blog shows how to:
- Run command to install dependencies
- Copy the necessary dependency files into Docker image
These two steps are also the main steps which user needs to customize.
Published on:
Learn moreRelated posts
Azure Storage - TLS 1.0 and 1.1 retirement
Overview TLS 1.0 and 1.1 retirement on Azure Storage was previously announced for Nov 1st, 2024, and it was postponed recently to 1 year later...
Efficient Management of Append and Page Blobs Using Azure Storage Actions
Overview In Azure Storage, Blob Lifecycle Management (BLM) allows you to automate the management of your data based on rules defined by...
[Azure AI Search] Internal Server Error when creating CMK encrypted objects
Scenario Customers follow the Microsoft doc to create CMK encrypted objects (data source, index etc.), but get the 500 Internal Serv...
Optimizing Azure Table Storage: Automated Data Cleanup using a PowerShell script with Azure Automate
Scenario This blog’s aim is to manage Table Storage data efficiently. Imagine you have a large Azure Table Storage that accumulates logs from ...
Optimizing Azure Table Storage: Automated Data Clean-up using a PowerShell script with Azure Automat
Scenario This blog’s aim is to manage Table Storage data efficiently. Imagine you have a large Azure Table Storage that accumulates logs from ...
Restoring Soft-Deleted Blobs with multithreading in Azure Storage Using C#
Blob soft delete is an essential feature that safeguards your data against accidental deletions or overwrites. By retaining deleted data for a...
Performing simple Azure Table Storage REST API operations using curl command.
The blog provides guidance to perform simple Table Storage REST API operations such as Create table, Delete Table, Insert entity, Delete entit...
Bulk delete all the old jobs from the batch account
Deleting a Job also deletes all Tasks that are part of that Job, and all Job statistics. This also overrides the retention period for Task dat...
Utilizing Azure Storage and Runbooks for scheduled automated backups of Azure SQL Databases
In this article, we are going to provide detailed steps to create a scheduled Azure SQL Database backup to storage account using automation. T...
[Azure Service Bus] JMS messages getting dead-lettered
The article discusses a problem where numerous messages end up in the dead letter queue (DLQ) when the JMS service bus consumer connects to th...