
Display Omnichannel chat widget in the footer of your portal
The combination of PowerPortals, Dynamics 365 Omnichannel and Power Virtual Agents increases the level of customer engagement for customers, in this post I'm going to guide you how to add your Omnichannel chat widget that you configured to your portal.
First, below are the pre-requisites to follow the blog,
- You have at least one Portal
- Omnichannel is installed
- Power Virtual Agent bot is configured to hand of chat conversations to Omnichannel
After having the above pre-requisites done, follow the below steps,
- From the "Omnichannel admin center" model-driven application
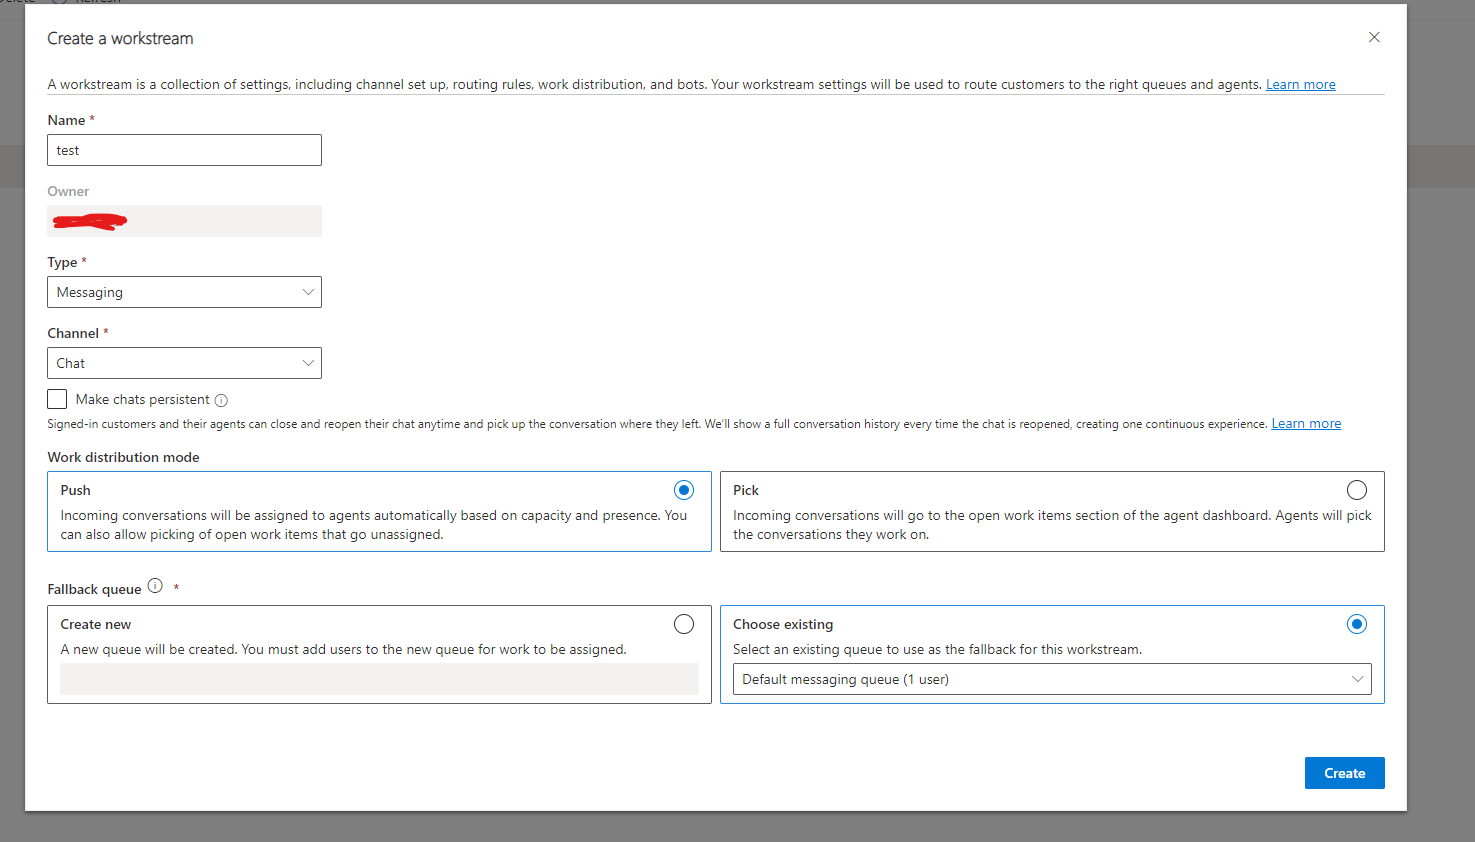
- Go to Workstreams and create and configure a new workstream based on your channel
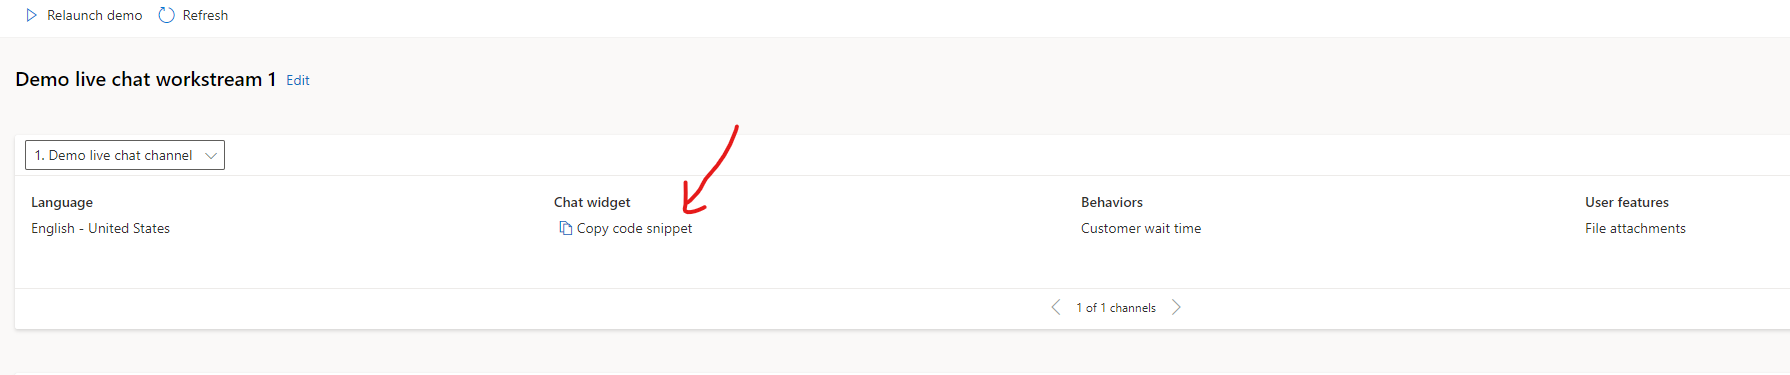
- Enter your stream record, and click on "Copy code snippet"
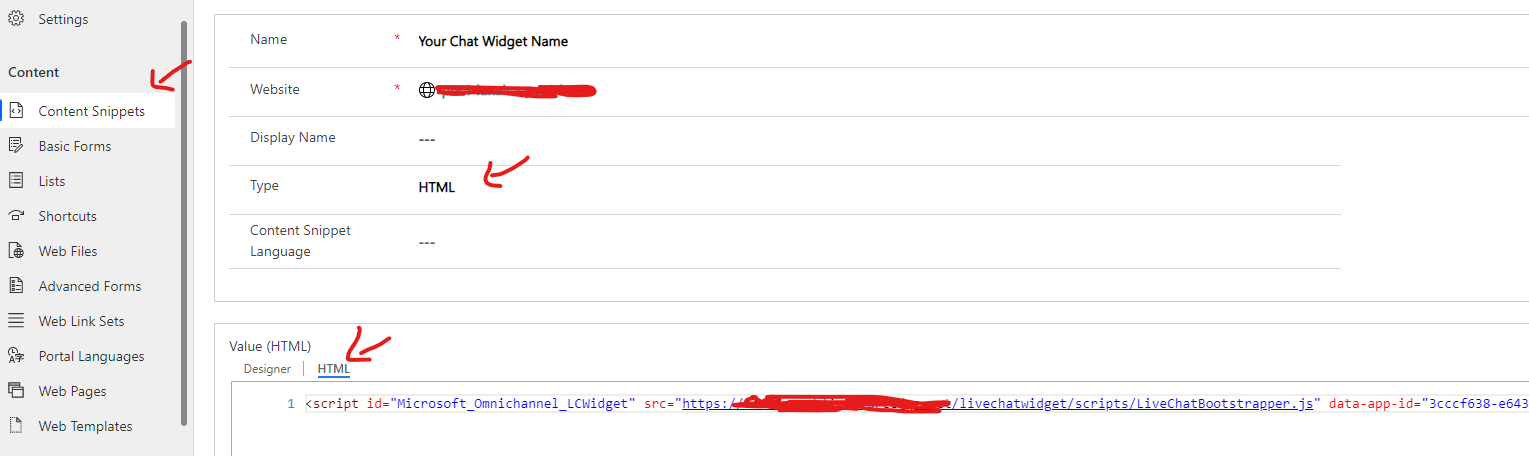
- Switch to "Portal Management" model-driven app
- Create a new content snippet and past the copied snippet from Omnichannel work steam
- Go to "Web Templates" and enter the "Footer" record

- Search for the footer tag and add the widget using the below code
{% include 'snippet' snippet_name:'Your Chat Widget Name' %}
The footer tag will look like this
<footer role="contentinfo">
  <div class="footer-top hidden-print">
    <div class="container">
      <div class="row">
        <div class="col-md-6 col-sm-12 col-xs-12 text-left">
          {% editable snippets 'About Footer' type: 'html' %}
          {% include 'snippet' snippet_name:'Your Chat Widget Name' %}
        </div>
      </div>
    </div>
  </div>
- Clear your portal cache by navigating to "<< Your portal URL >>/_services/about"
You need to be logged in to your portal with a contact that has administrator portal role
click on "Clear Cache" button
- Refresh your portal and you will see the chat widget displayed!
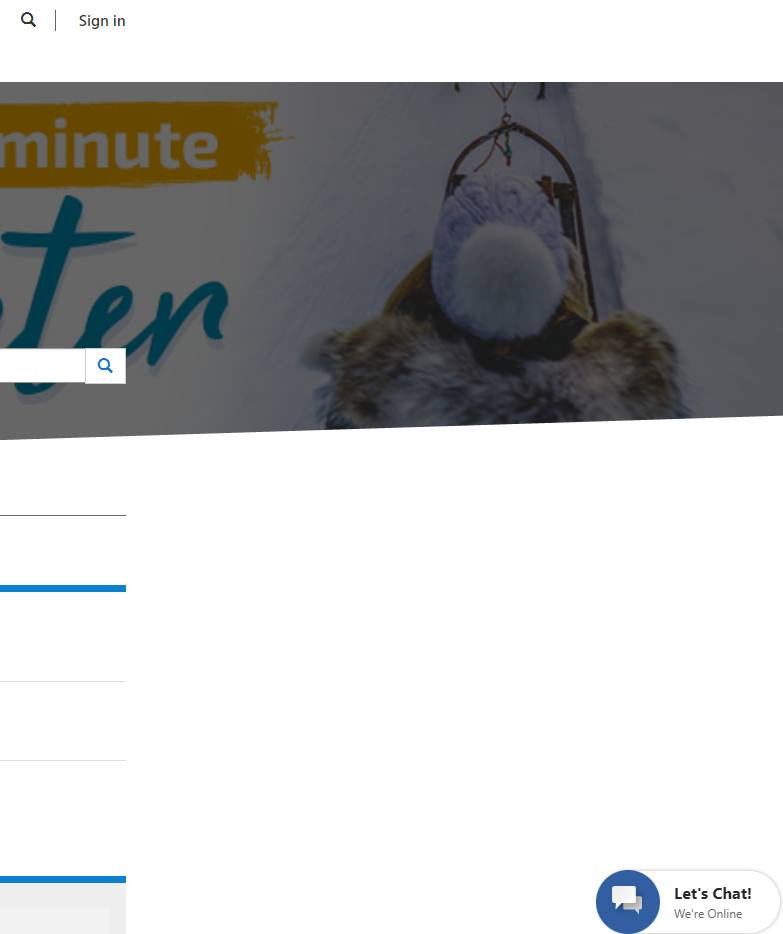
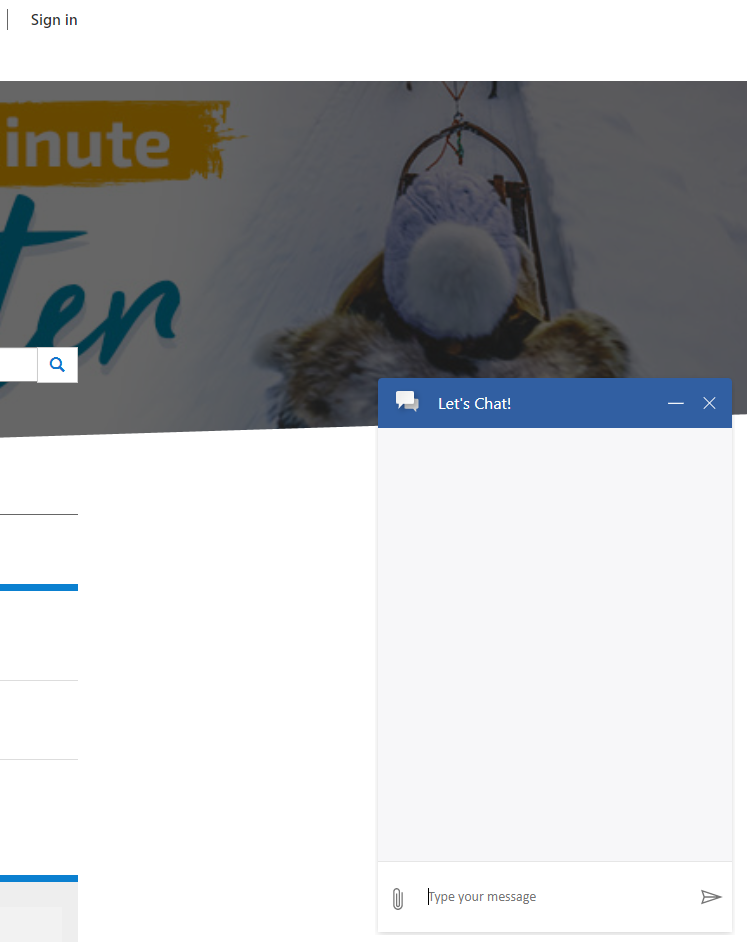
That's it!
You want to add it to more web templates? follow the steps from step number 5 on the web template you like.
Published on:
Learn moreWe can help you with Display Omnichannel chat widget in the footer of your portal
If you want help implementing, troubleshooting, or improving this product, contact us and we’ll point you in the right direction.
Related posts
Alert Control
Intro Use Alerts to create non-intrusive alerts that do not interrupt the user. For installation follow the link here Parameters Title The t...
Alert Control
Intro Use Alerts to create non-intrusive alerts that do not interrupt the user. For installation follow the link here Parameters Title The t...
Improve site speed in PowerPages
What is CDN? In short, Content Delivery Network (CDN) caches your public assets of your site in distributed servers, so if you have a website ...
Improve site speed in PowerPages
What is CDN? In short, Content Delivery Network (CDN) caches your public assets of your site in distributed servers, so if you have a website ...
Advanced Text Area
Intro Advanced Text Area is a control that speeds up creating records. Why advanced? The control can be configured to let users attach files ...
Advanced Text Area
Intro Advanced Text Area is a control that speeds up creating records. Why advanced? The control can be configured to let users attach files ...
Radio Group
Intro Radio group control is a control that represents single select options in different radio representations For installation follow the l...
Radio Group
Intro Radio group control is a control that represents single select options in different radio representations For installation follow the l...
Combo Box Control
Intro ComboBox control is an auto-complete dropdown where users are able to search and navigate between options. For installation follow the ...
Combo Box Control
Intro ComboBox control is an auto-complete dropdown where users are able to search and navigate between options. For installation follow the ...