What is powerapps-modals?

Overview
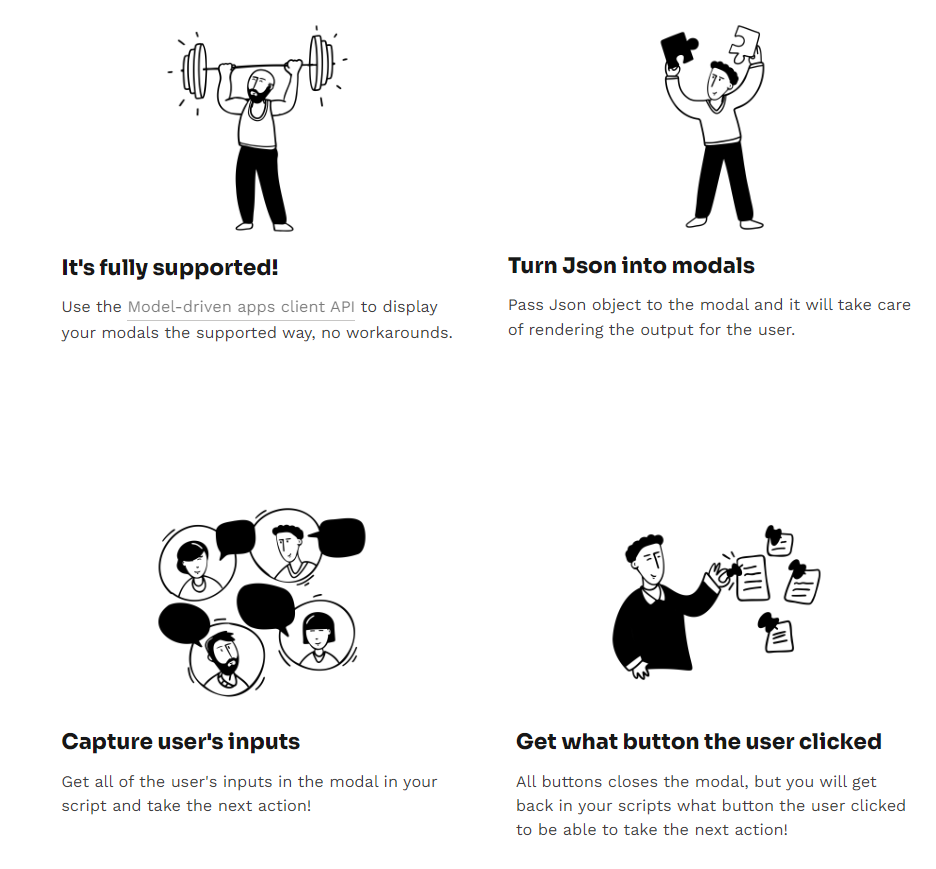
powerapps-modals gives you the tool to build attractive modals in Model-driven apps fast & easy. You just need to configure the modal configuration and start calling it from your client code.
Why?
Roadmap
Click here to see the roadmap of powerapps-modals
Installation
Go to this link and download the latest release managed zip file, and then install it in your environment
How to use?
- Install the zip files in your environment
- Prepare your Json
  {
    "icon": "success",//warning //error
    "labels": [
      { "text": "Activation Succeeded", "type": "h1" },
      {
        "text": "Enter customer name and email to submit the request to the next stage",
        "type": "h2",
      },
    ],
    "inputs": [
      {
        "id": "customername", //used to get the value when the modal object is returned
        "label": "Customer Name",
      },
      {
        "id": "customeremail",
        "label": "Customer Email",
      },
    ],
    "buttons": [
      {
        "id": "button-cancel", //used to know what button was clicked, retunred with modal return object
        "label": "Cancel",
        "type": "white", //blue //red
      },
      {
        "id": "button-submit",
        "label": "Submit",
        "type": "blue",
      },
    ],
  }
- Call it from your script
  let pageInput: Xrm.Navigation.PageInputHtmlWebResource = {
    pageType: "webresource",
    webresourceName: "vite_/viteapps/pages/modals.html",
    data: JSON.stringify(modalJsonObject), //modalJsonObject, pass your json object here
  };
  let navigationOptions: Xrm.Navigation.NavigationOptions = {
    target: 2, // 2 is for opening the page as a dialog.
    width: 400, // default is px. can be specified in % as well.
    height: 500, // default is px. can be specified in % as well.
    position: 1, // Specify 1 to open the dialog in center; 2 to open the dialog on the side. Default is 1 (center).
    title: "Record activation modal", //recommended to enter title here
  };
  Xrm.Navigation.navigateTo(pageInput, navigationOptions).then(
    function success(returnedValues) {
      console.log(returnedValues);
      /*
        Return values object comes in the below format
        {
          inputs:object //holds the inputs and what the user filled them in with, you can get them by using the input id as the identifier
          clickedButton:string // the id of the button the user clicked
        }

        for the above example you can get your inputs like the below
      */
      let clickedButton = returnedValues.clickedButton; //if the user clicked on submit button it will return "button-submit"
      let customerName = returnedValues.inputs["customername"]; //returns what user filled in the customer name input
      let customerEmail = returnedValues.inputs["customeremail"]; //returns what user filled in the customer email input
    },
    function error(e) {
      // Handle errors
    }
  );
That's it :)
Published on:
Learn moreRelated posts
Offline-First Canvas Apps Grow Up: Real-Time Dataverse Access Arrives
A field technician I shadowed on a project once put it perfectly: "The app works great in the parking lot and dies in the basement — and...
Did You Know | Power Apps Code Apps have a new CLI (power-apps) that replaces ‘pac code’
If you have been building Power Apps Code Apps with the pac code commands, there is a new CLI you should know about. The power-apps npm CLI is...
Power Apps Code Apps | power-apps authorization error | Reason and fix
In my previous post, Power Apps Code Apps – Trigger a Power Automate Flow, I walked through adding and calling a cloud flow from a code a...
How to Backup a Microsoft Power Pages (Power Apps Portals) Website
Microsoft Power Pages (formerly known as Power Apps Portals) is a low-code platform for building secure, external-facing websites that integra...
Power Apps – Entity scoping in global search
We are announcing entity scoping in global search in Power Apps. This feature will reach public preview on August 7, 2026. How does this affec...
Power Apps – Multi Select in Grid column filtering
We are announcing Multi Select in Grid column filtering in Power Apps. This feature will reach public preview on August 7, 2026. How does this...
Benefits of Microsoft Power Apps for Modern Businesses: Why Businesses Are Embracing Low-Code Development
Every business wants to work smarter, respond faster, and reduce manual effort. Yet many organizations still rely on spreadsheets, paper forms...