Get started with CLI Microsoft 365 for Power Platform people

tl;dr
CLI for Microsoft 365 is an amazing tool to manage your Microsoft 365 tenant and SPFx projects. But did you know, that also people working with Power Platform can massively benefit from using it?
To convince you, I chose a use case, that will probably relate to lots of people, but please be aware, that CLI for Microsoft can do so much more!
Use case: App registrations in Azure Active Directory
Very often when working with Power Automate or Power Apps, we want to leverage the power of Microsoft Graph API. To do so, we need to authenticate against Graph using Azure Active Directory (Azure AD) and register an application in the Azure portal at portal.azure.com. Depending on permissions, redirect URI, secret etc. we need to perform several steps and take note of certain outputs. Wouldn’t it be nice if the entire app registration process was rather a one line command that automatically outputs the values we need?
After installing CLI Microsoft 365 and logging in, all we need to do is
m365 aad app add `
--name 'myApp001' `
--redirectUris 'https://global.consent.azure-apim.net/redirect' `
--platform web `
--withSecret `
--apisDelegated 'https://graph.microsoft.com/People.Read.All' `
--grantAdminConsent `
What this does is registering an application with the following parameters:
- Displayname of the app is
myApp001 - Redirect URI is
https://global.consent.azure-apim.net/redirectthat is what you need for custom connectors in Power Platform - It does create a secret (and will output it)
- It has delegated permissions for
People.Read.Allon Graph API - Admin consent is already granted
If we run this command (and we can do this as one-line as well without the backticks ` at the end of each line)
m365 aad app add --name 'myApp001' --redirectUris 'https://global.consent.azure-apim.net/redirect' --platform web --withSecret --apisDelegated 'https://graph.microsoft.com/People.Read.All' --grantAdminConsent
we get the following output:
{
"appId": "164298a8-504c-4234-a43a-XXXXXXXXXXXX",
"objectId": "02b7577e-4d6b-478a-b34c-XXXXXXXXXXXX",
"tenantId": "b469e370-d6a6-45b5-928e-XXXXXXXXXXXX",
"secrets": [
{
"displayName": "Default",
"value": "XXXXX~5FUlgaKtYEAJ-XXXXX~DWsnj6yerYATXXX"
}
]
}
which means, that we can use appId and the value of the secret in our custom connector or in the HTTP action of our Power Automate flow.
Get started with CLI for Microsoft 365
If you now want to try this out as well, you need to follow these steps:
- Install node.js
With node.js comes npm and we will install CLI for Microsoft 365 with npm. If you don’t have npm or node.js installed:
- Open node.js
- Select 18.12.1 LTS
- Install node.js
- Install CLI for Microsoft 365
- Open a terminal of your choice, I use the built-in terminal of Visual Studio Code
- Type
npm i -g @pnp/cli-microsoft365to install CLI for Microsoft 365 globally
- Login
- To login, type
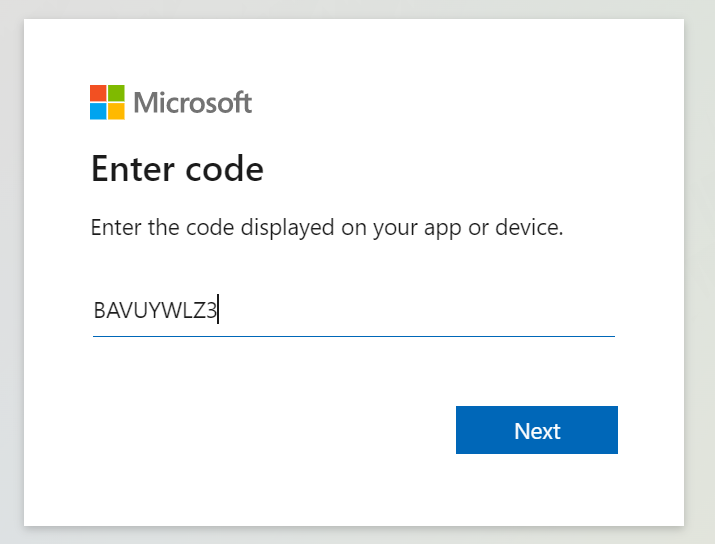
m365 login - You will see a message like this:
"To sign in, use a web browser to open the page https://microsoft.com/devicelogin and enter the code BAVUYWLZ3 to authenticate."- Do exactly that. Copy that code, open the URL and paste the code. - Select Next
- To login, type
Now log into the tenant you want to connect with using your username and password (+ optional MFA)
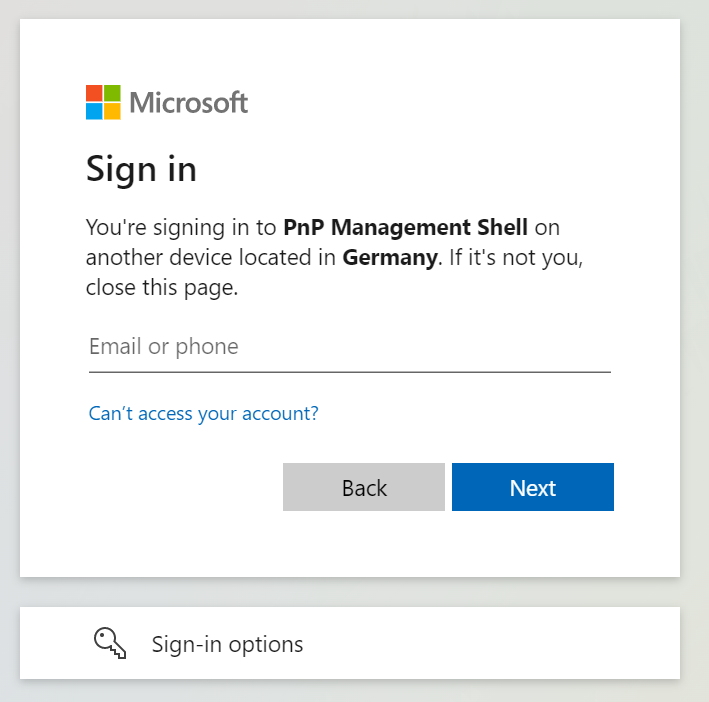
You can close the https://login.microsoftonline.com/common/oauth2/deviceauth page again
💡 Until you type m365 logout, you will stay logged in.
- Try out to register an app
Now lets see if that worked! Register your own application and validate in the Azure portal.
Feedback and what’s next?
If you liked this experience, maybe you want to dip your toes even a bit further into CLI for Microsoft 365 - here is why you should absolutely consider that:
- it’s open-source and we are all here to learn
- it’s an amazing project with the most awesome contributors
- it has a lot of super-helpful commands around Power Apps, Power Automate, and more in Power Platform - more to come! Any ideas?
Published on:
Learn moreRelated posts
Power Platform ToolBox - Release v1.2.4
SharePoint Permissions in Power Automate
Which account really runs each action, and why a flow that works for you returns 403 for everyone else.
Restrict Unauthorized Users to Access CRM Data in SharePoint
In Dynamics 365 CRM, managing access to records is essential for maintaining security and protecting sensitive information. Integrating Dynami...
How to Enforce Role-Based Access Control (RBAC) in SharePoint from Dynamics 365 CRM
Microsoft Dynamics 365 CRM uses a structured Role-Based Access Control (RBAC) model to secure records at the user, team, business unit, and or...
Power BI, M365 Copilot And The Importance Of DAX UDFs
This was a big week for Power BI Copilot with the announcement of a new direction for the feature. If you haven’t done so already, read ...
SharePoint Online throttling report
Check out the newly introduced SharePoint Online throttling report, now available under the /beta Graph API endpoint. … Continue reading...
“Virus detected” | Exporting Power Platform solution with a Code App
While exporting a managed solution from the Power Apps maker portal , the browser blocked the download with a Virus detected warning. Here is ...
Microsoft Teams: Join by code requires owner approval for private teams
Microsoft Teams will require owner approval for users joining private teams via join codes starting late August 2026. Users can still generate...
Microsoft 365 Copilot: Capture voice notes in the Microsoft 365 Copilot mobile app
Microsoft 365 Copilot mobile app introduces a Record feature to capture voice notes and conversations, providing AI-generated transcripts and ...