Intro to custom functions in Power Apps

tl;dr
Custom functions are a great way to make code reusable in Power Apps. By also leveraging Power Apps component libraries we can use the same code across apps in the environment.
Once there was a time…
when we all started with Power Apps and realized, that all logic in the app is done by calling pre-built functions like CountRows(Inventory). With increased complexity of our apps, we sometimes combined and nested these functions and did some pretty cumbersome calculations in order to get the job done - unfortunately over and over again.
DRY
In traditional programming there is a rule called DRY which stands for Don’t repeat yourself. It means, that you should never have to maintain the same code snippets in several places… You update 5 and forget the 6th instance. This leads to nightmares when developing, maintaining, debugging.
To tackle this in traditional languages, we first define a function and then call it where needed, so that we have a single source of truth. This reduces debugging time and increases developer productivity.
Now what if we could do the very same thing in Power Apps? Instead of copy-pasting code snippets in one app or even across apps ("oh wait, I already solved tis problem in another app"), we could create a parameterized function in a central repository, that we could call from any app.
How to create a custom function
Custom functions are custom properties of components, instead of providing a consistent look & feel of UI elements, they allow makers to reuse code snippets. As all components, they should be stored in component libraries. A component library is a special type of canvas app with the purpose to hold your components in one place, again following the principle of DRY.
Create a component library
- Open make.powerapps.com
- Make sure that you are in the environment you want to use the components/custom functions in
- Select Apps
- Select Component libraries
- Select New component library
- Type a name like
Custom functions - Select Create
Enable enhanced component properties
As this feature is not GA’ed yet, we need to enable it in the experimental feature section in settings:
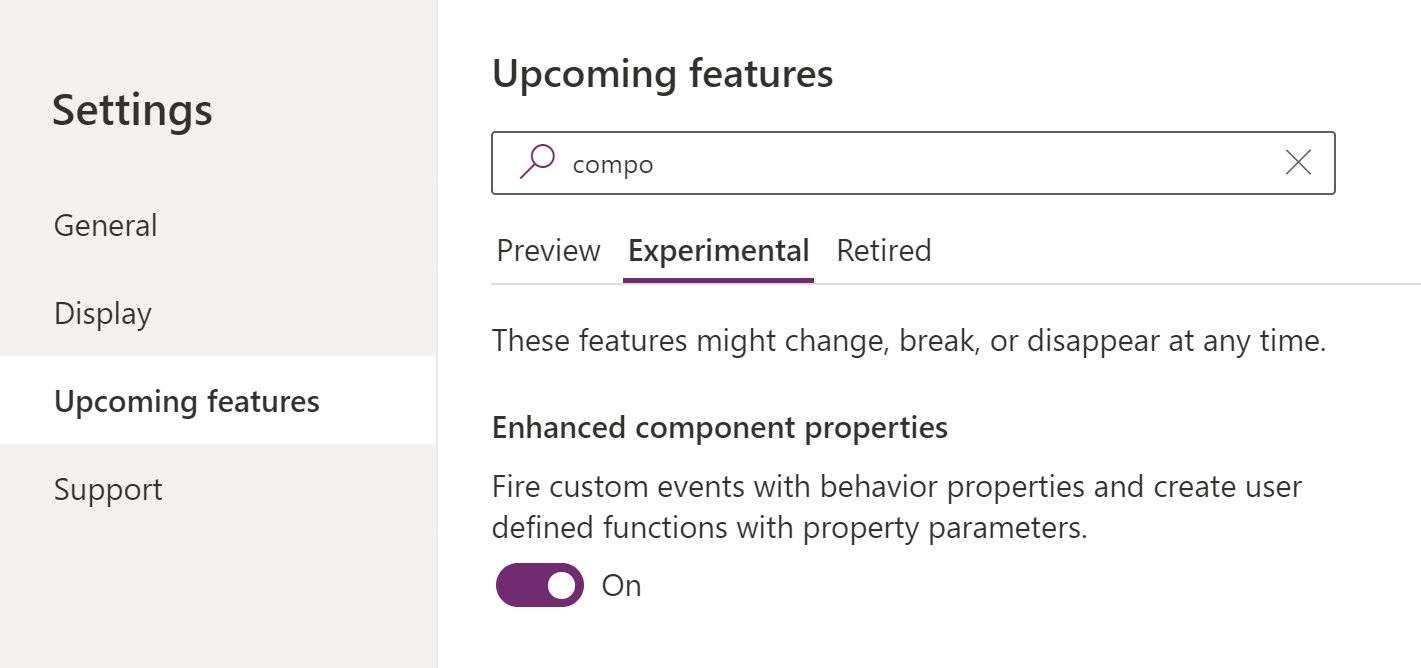
- Select Settings
- Select Upcoming features
- Select Experimental
- Type the first letters of
componentsinto the search bar - Switch the toggle of Enhanced component properties to
true - Close the settings again
Create a dateFunctions component
- Select Components
- Rename Component1 to something like
dateFunctions - Resize the component to Width and Height:
0- we don’t need ANY UI for this
We wil group all functions, that are related to dates in this component.
Create a new custom property (that is our function!)
- Select New custom property
- Type
getQuarteras DisplayName - Set Property type to
Output- as we want to output a value - Set the Data Type to Number - as we want to return a number (it shall be either 1,2,3, or 4 for the 4 quarters in a year)
- Select New parameter
- Type
myDateas Parameter Name - Select
Date & Timeas Parameter Type (as we will be providing a date) - Check the Required checkbox.
- Select Create
If you can’t see the New parameter link, go back to Enable enhanced component properties and follow instructions :-)
Now let’s add some code to our new function. You will notice your newly created property getQuarter in the dropdown menu:
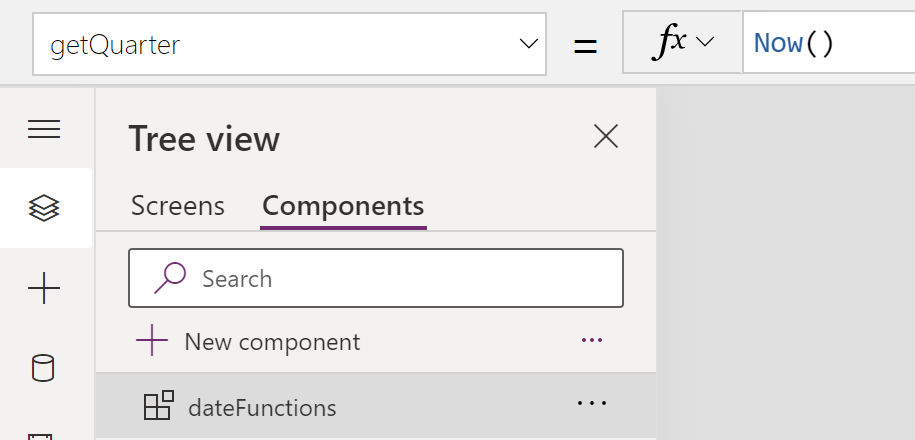
Put the following code:
If(
Month(myDate) <= 3,
1,
Month(myDate) >= 4 && Month(myDate) <= 6,
2,
Month(myDate) >= 7 && Month(myDate) < 9,
3,
Month(myDate) >= 10,
4
)
As you can see, this function takes myDate, which needs to be of type Date and time as an input and outputs the respecting quarter as a number.
Try out your component
In this component library, you also have screens, but they are only there to test your components, not to be used as apps.
- Select Screens
- Select + Insert
- Under Custom select dateFunctions - by this you add the component the screen
- Insert a datepicker control
DatePicker1 - Insert a textlabel
- Set the Text property of the label to
dateFunctions_1.getQuarter(DatePicker1.SelectedDate) - If you now change the value of the datepicker, you will see different values i te textlabel - showing the quarter of the date.
Please note the
_1in the component instance 💡
Please publish your component library to make it available in the environment.
The beautiful thing about that is, that you can now consume this function in any app - while the component itself will live and be edited only in the component library. This means that we have our single source of truth and that we enable more people to use code-snippets.
Consume your component in another app
Let’s now consume our brand new function in a canvas app in the same environment. Either open an existing app or create a new one.
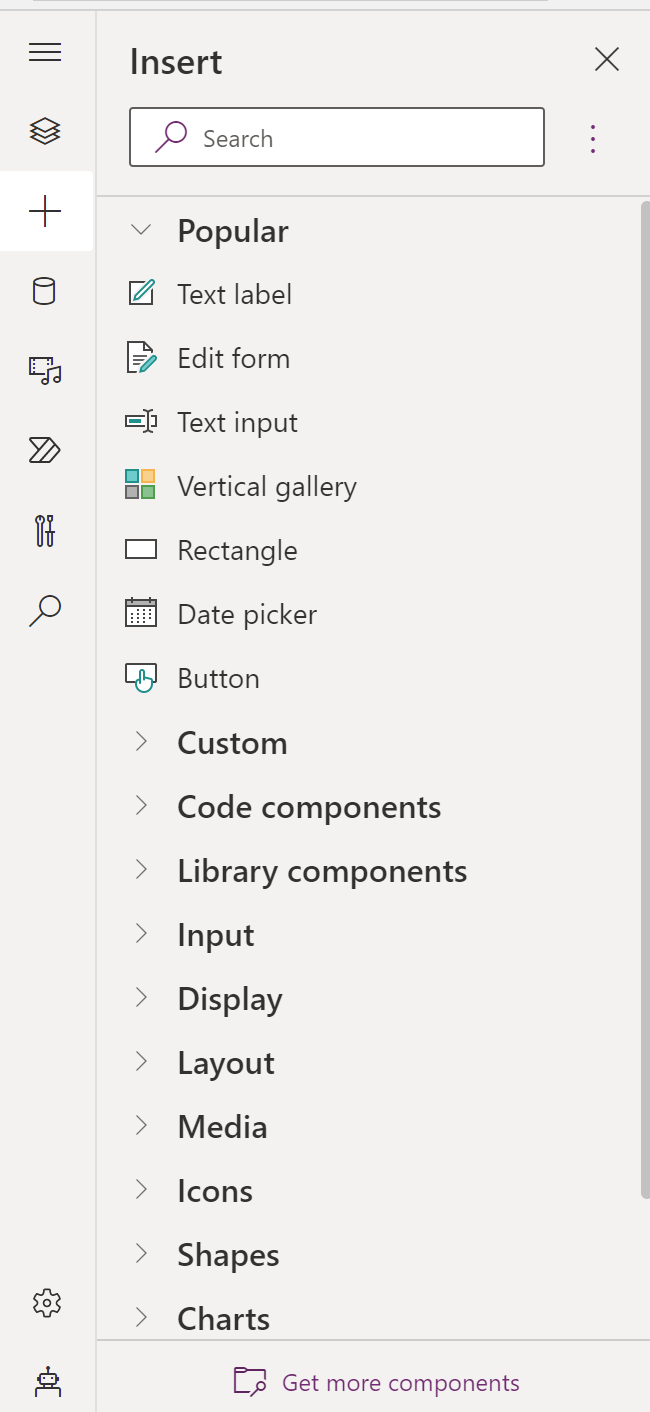
- Select + Insert
- Select Get more components
- After your component got imported, you should see this message:

- Now add the component to a screen by selecting dateFunctions under Library components
- Now use the component in your app like you tried before in the component library.
Feedback and whats next?
You can now add more custom properties to your dateFunctions component, for other code snippets that you would like to reuse across apps.To do that, create a new custom property and define its parameters. To make it easier for you, you can kickstart your own custom functions component library with my open-source component library:
Let me know what you think on twitter :-)
Published on:
Learn moreRelated posts
5 Dataverse Date Fields and the Date Picker in Canvas Apps
Within Dataverse we can configure date fields in 5 different ways. When we use these fields in a Power Apps Canvas App they will behave slight...
Modern Combo box limitations in Power Apps
Following my post about migrating from the Classic Controls to Modern Controls, today a bit of a closer look at the Modern Combo box.
Migrate from Classic Controls to Modern Controls in Power Apps
Have you considered moving you Canvas Apps from Classic Controls to Modern Controls? Unfortunately it isn't as easy as just replacing each con...
Generating and Sharing Screen in PDFs from D365 Sales Using Canvas Apps
In many Dynamics 365 Sales implementations, sales users need a simple and intuitive way to preview a quote, generate a PDF, and share it with ...
Calender View in Power Apps Model Driven APP
Vibe coding with Power Platform – Power Apps Code Apps
Power Platform offers several different ways to vibe code. Generative pages and Vibe Power Apps have been covered in previous articles, so thi...
Power Apps – Content Security Policy enforcement for Power Apps code apps
Starting on January 26, 2026, we will introduce strict Content Security Policy (CSP) enforcement for Power Apps code apps (preview). CSP is a ...
Decimal dot or comma in Power Apps
How do you write 1,234.56? Do you have a decimal dot or a decimal comma? Well most likely this depends on where you live. How do you deal with...